
Monday, 18 June 2012
Friday, 15 June 2012

Tuesday, 12 June 2012

Hot Air Balloon Reflection

Art: Reflecting on my Papier Mache Hot Air Balloon
1. Are you pleased with your Hot Air Balloon? why / why not?
I am pleased with my balloon because I like the colour purple on my balloon and the colour green on my balloon.
2. What did you find easy when you made your Hot Air Balloon?
The part that was easy was painting my balloon white.
3. What part did you find tricky when you made your Hot Air Balloon?
The part that was tricky was putting on the ribbons on the segments.
4. Who / What helped you when you made your Hot Air Balloon?
Pace, Miss Paton and Miss Chapman.
5. What would you do differently next time? Think about: Painting, Smoothing, Gluing of ribbon, Glittering and Time Management.
Time management because I thought I was last making my Hot air balloon.
6. What frustrated you when you made your Hot Air Balloon?
The part that was frustrated was gluing the newspaper and gluing the newsprint.
Thursday, 7 June 2012
How to make a jet propelled cable car
These are my instructions on how to make a jet propelled cable car.
Tuesday, 22 May 2012
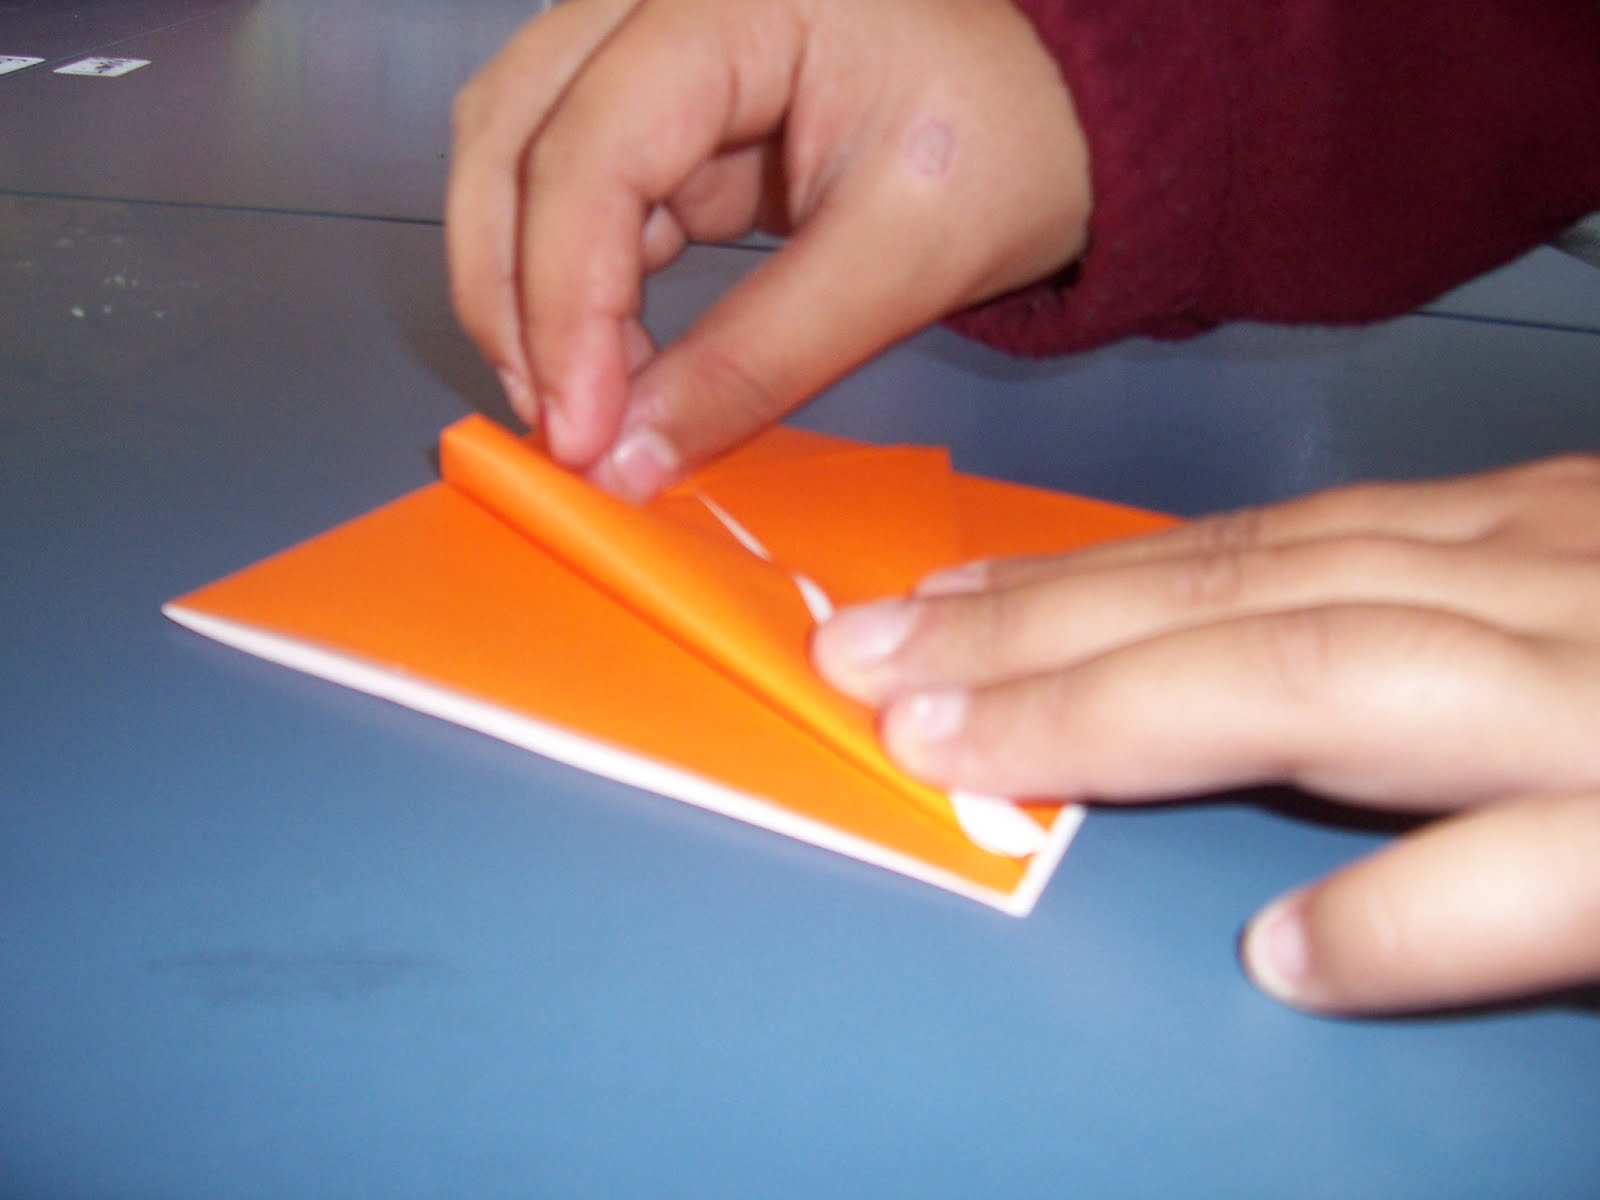
My Origami Crane instructions
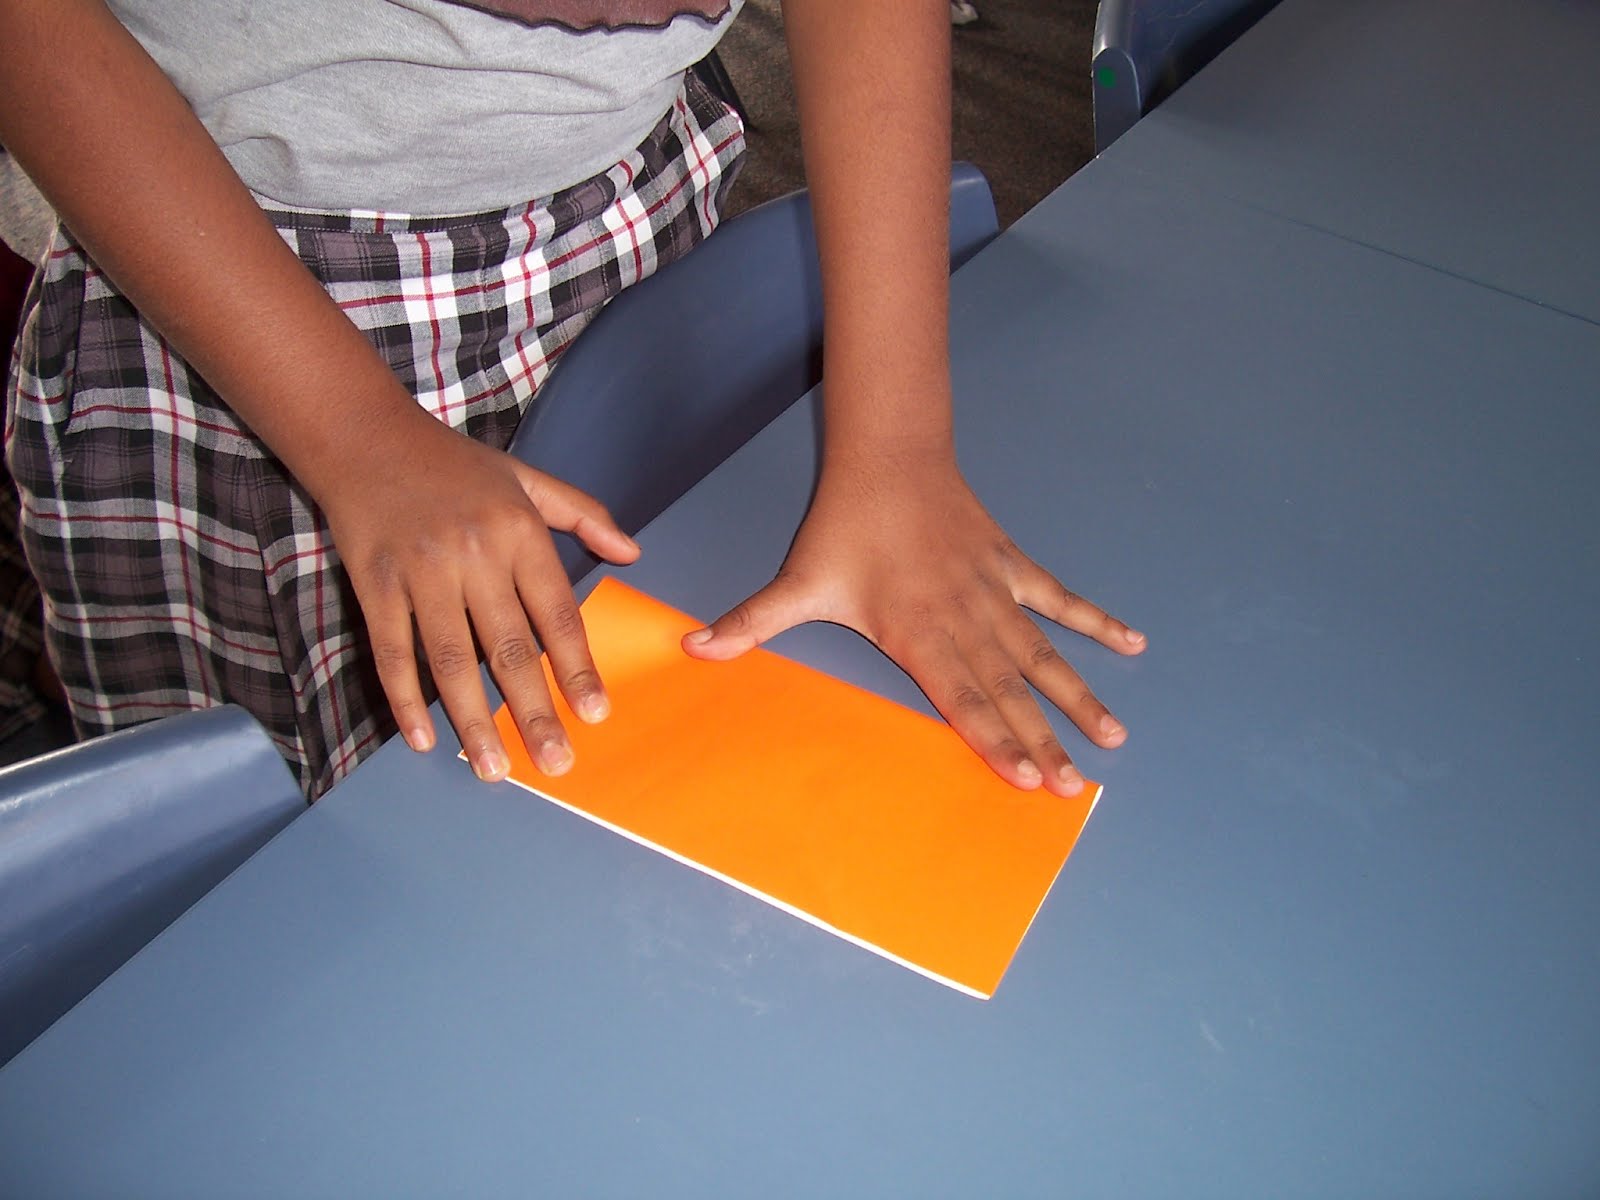 * * | 1. Fold the piece of paper in half. |
 * * | 2. Fold the paper into half again so it can be into quarters. |
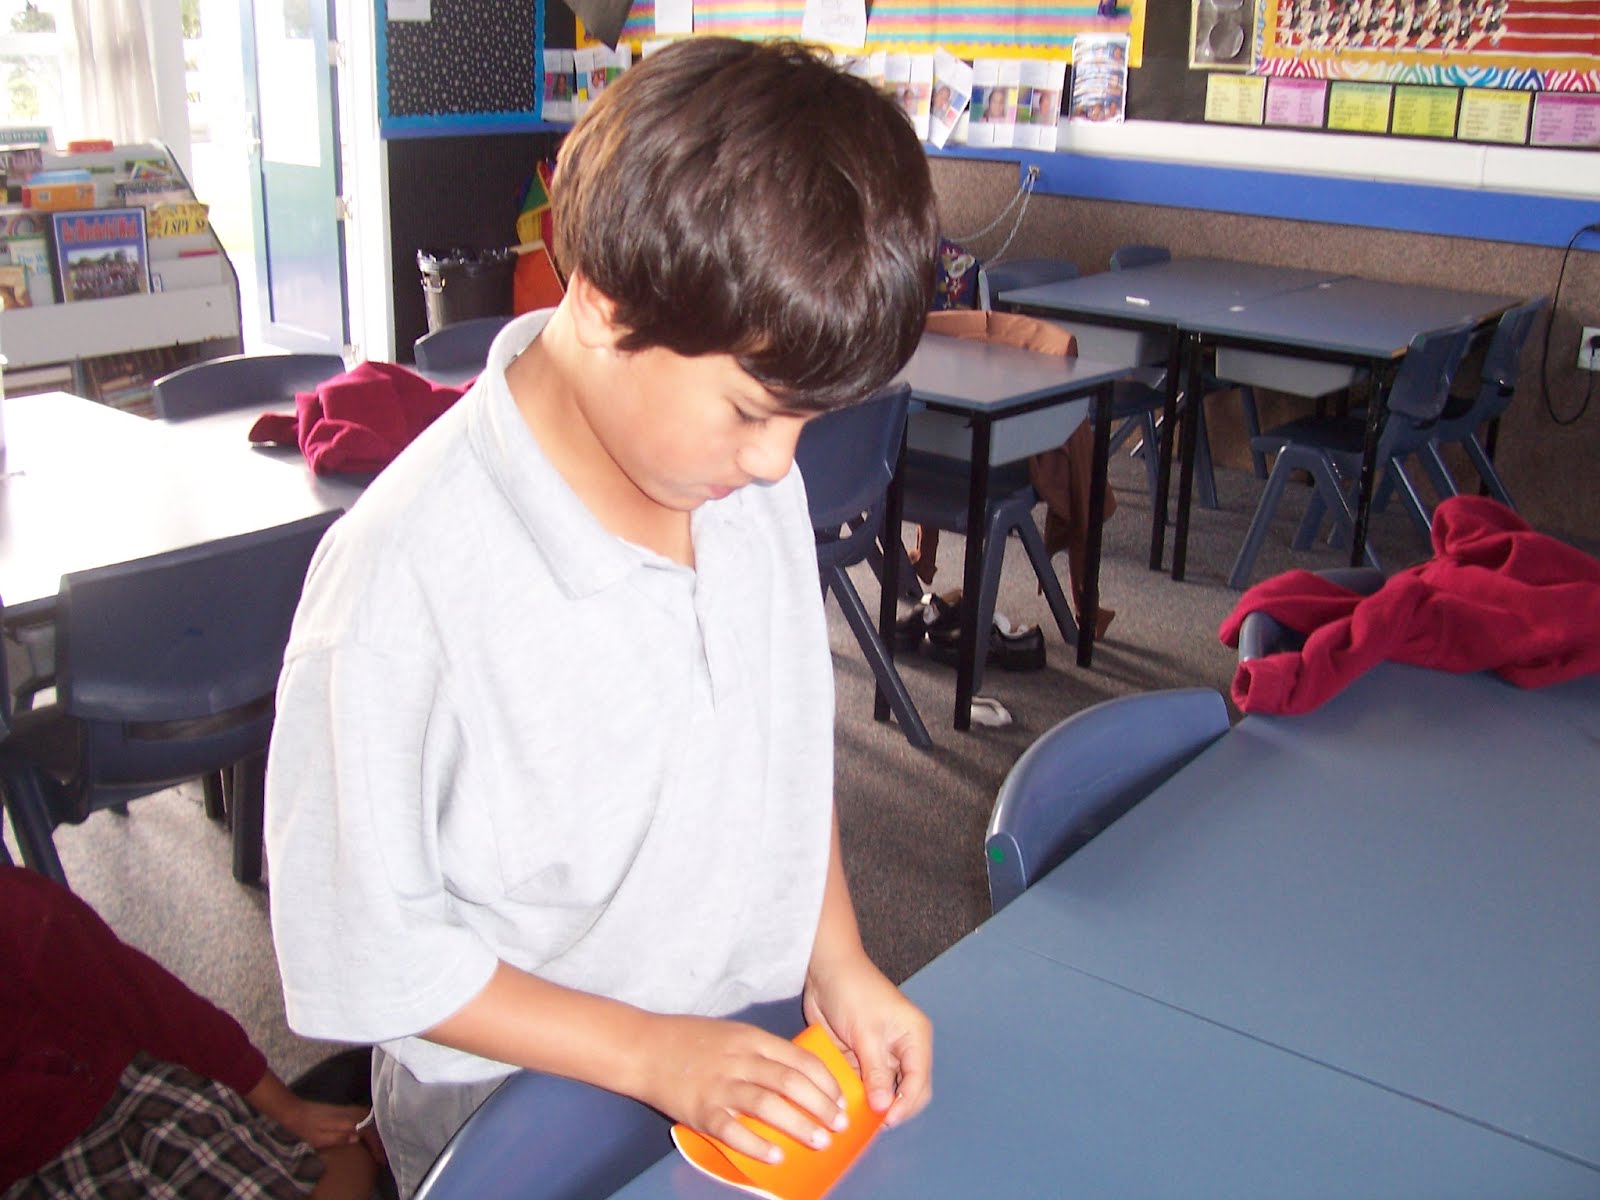
 | 3. Open the paper up. |
 * * | 4. Fold the paper into a triangle. |
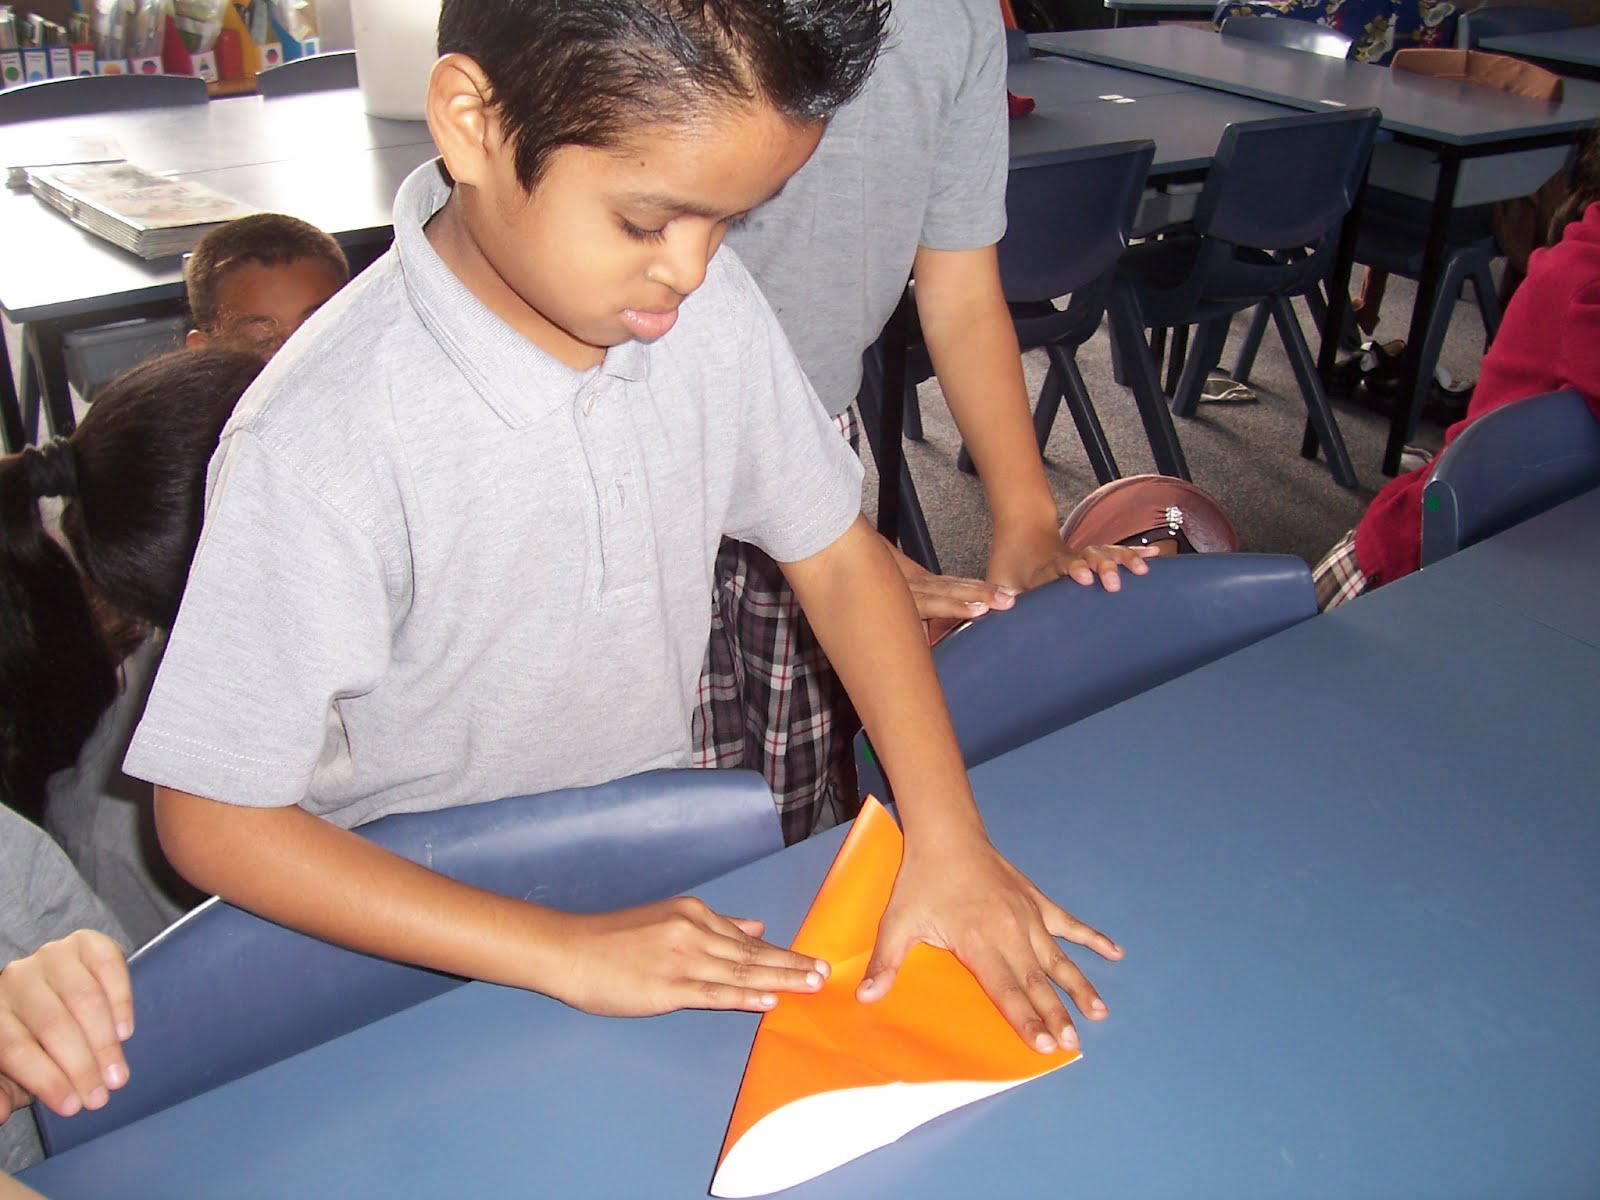
 * * | 5. Flip the paper over and fold it into a triangle. |
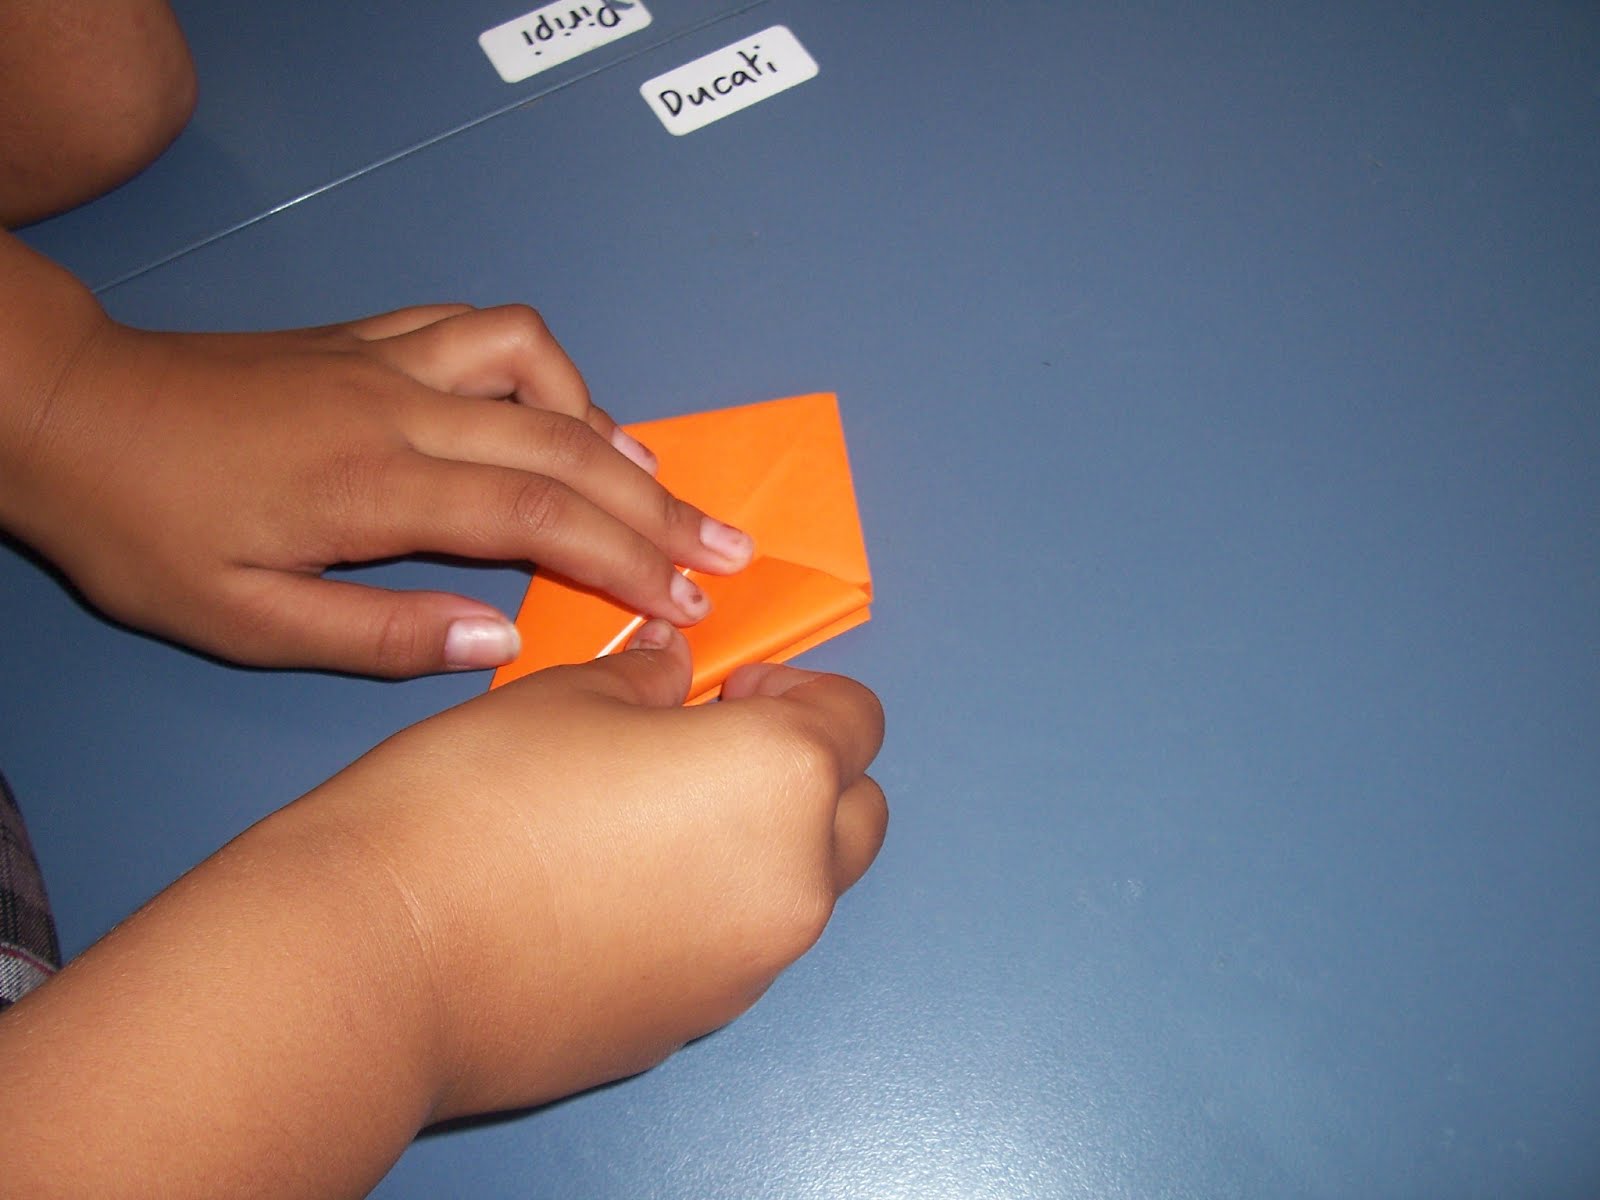
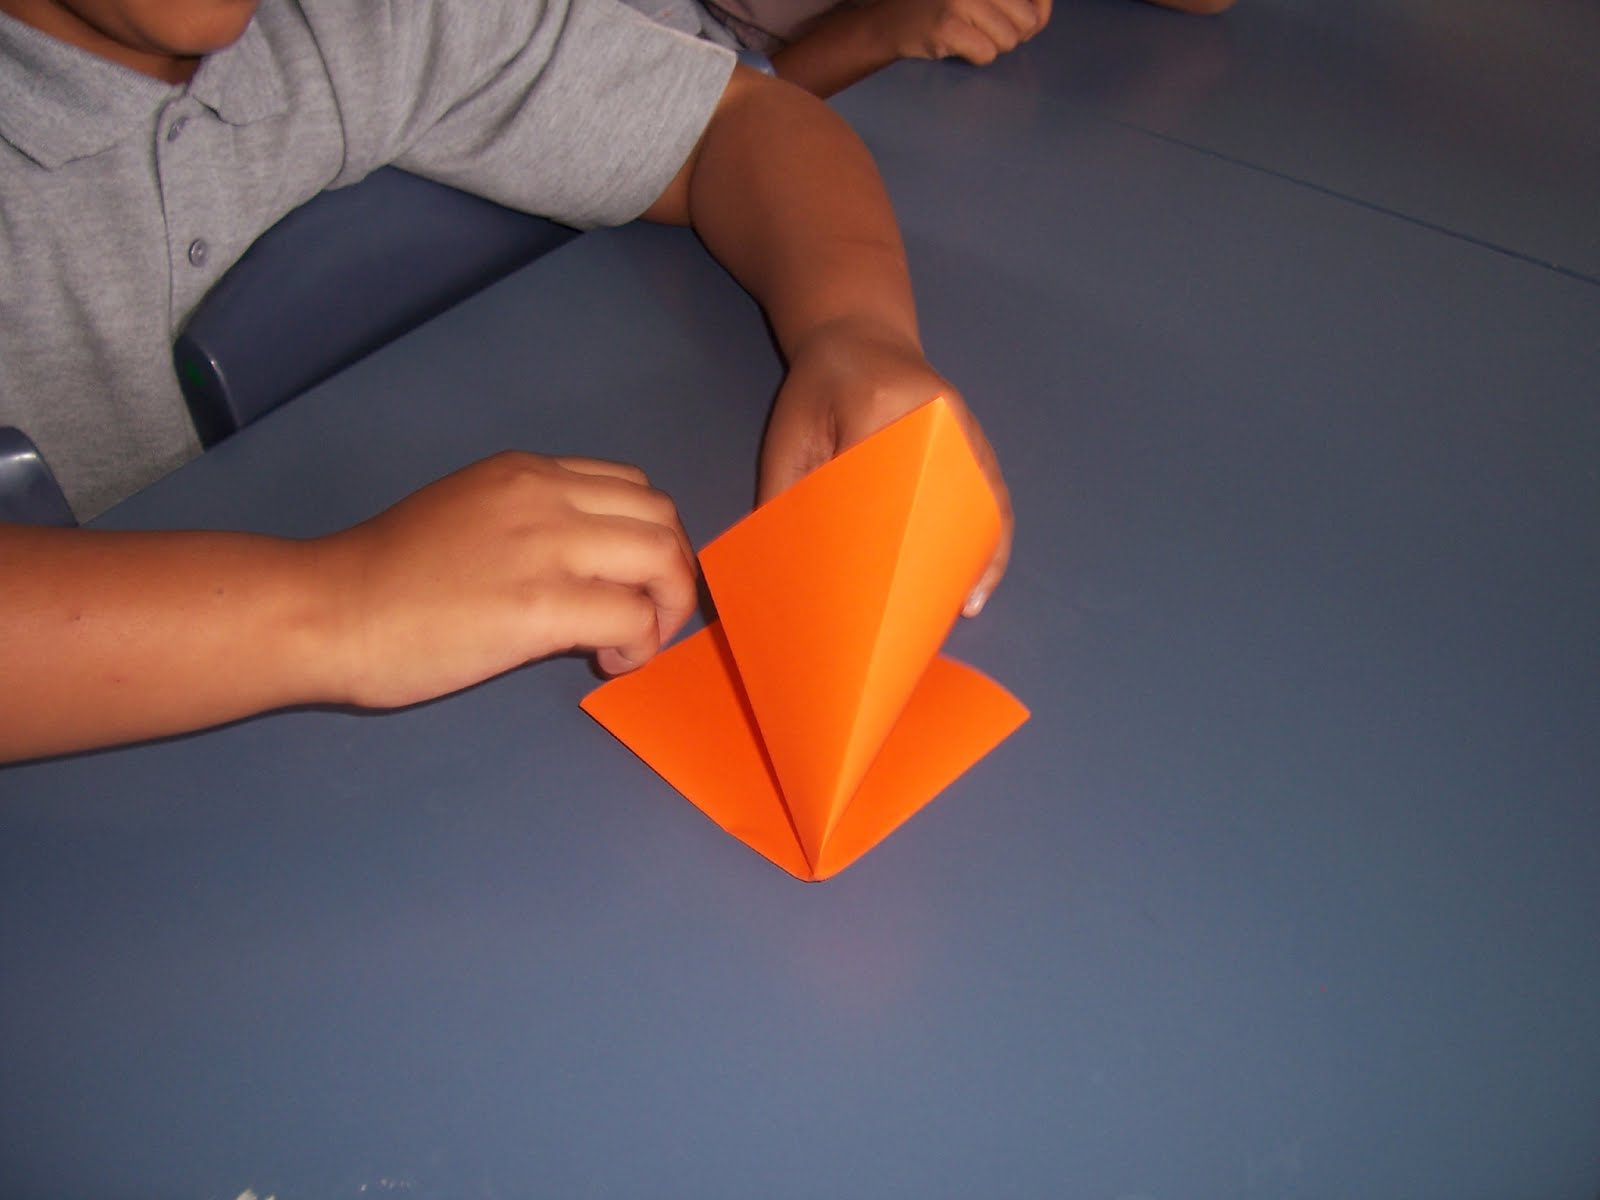 * * | 6. Take the sides of the triangle and push it down so it can be a square. |
 * * | 7. Push the paper down really hard(Make sure the flappy bit is facing you) |
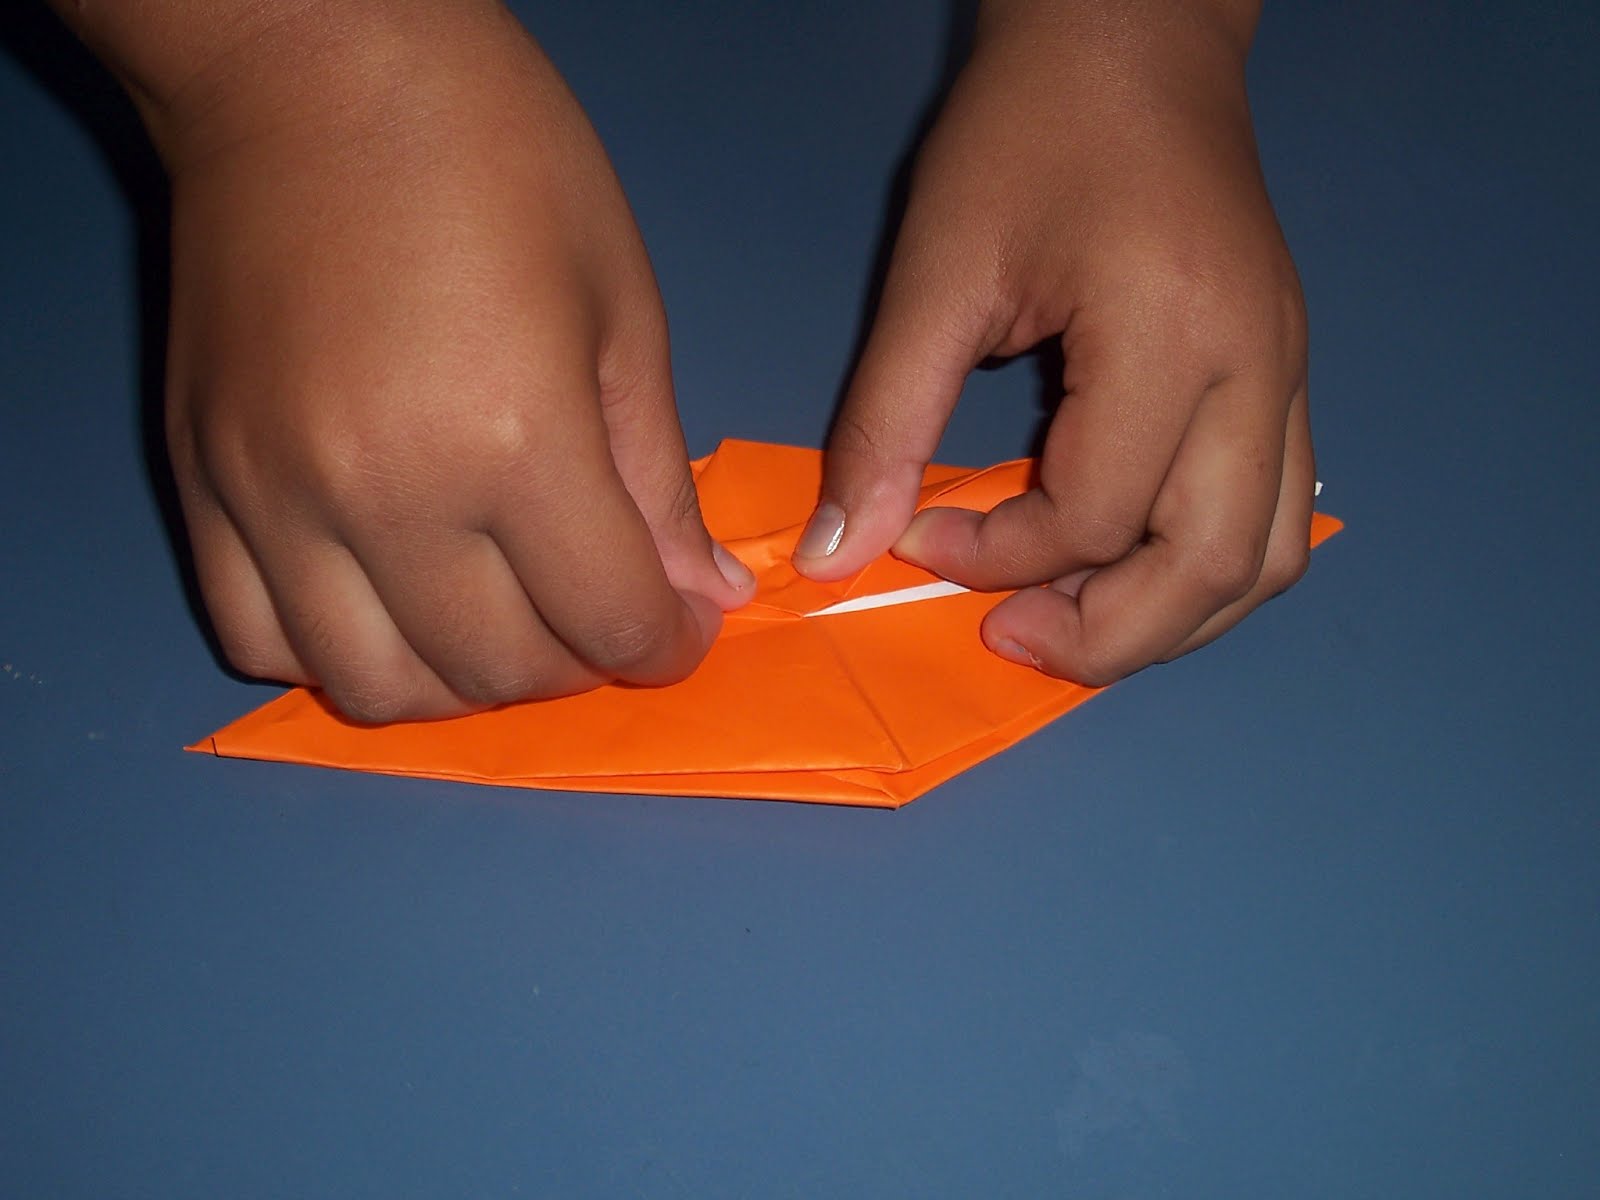
 * * | 8. Take both corners of the square and fold it to the center. |
 * * | 9. Flip the paper over and do the same thing take both corners and fold it to the center. |
 * * | 10. repeat step 9 on the other side. |
 * * | 11. Fold it down. |
 * * | 12. Take the top bit and fold it to the center. |
 * * | 13. Open the paper up. |
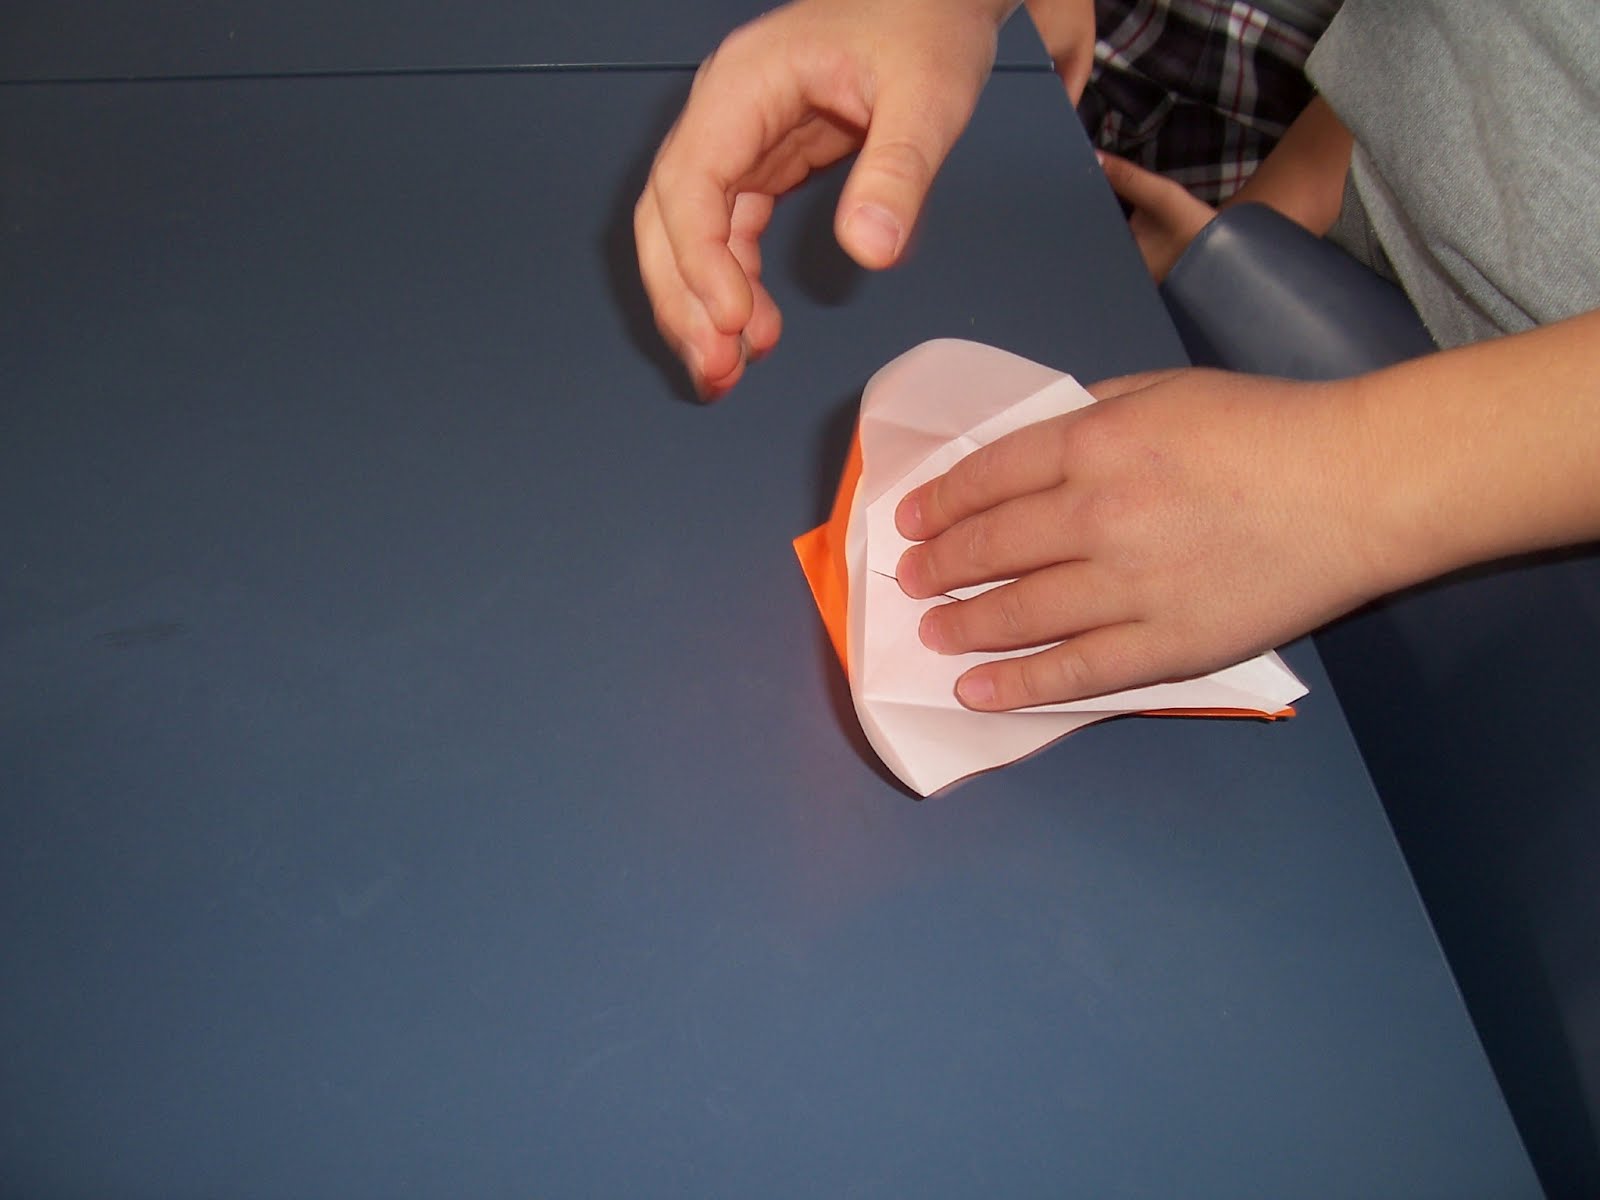 * * | 14. Open the flappy bit. |
 * * | 15. Fold the sides down so it looks like a kite. |
 * * | 16. Repeat step 15 on the other. |
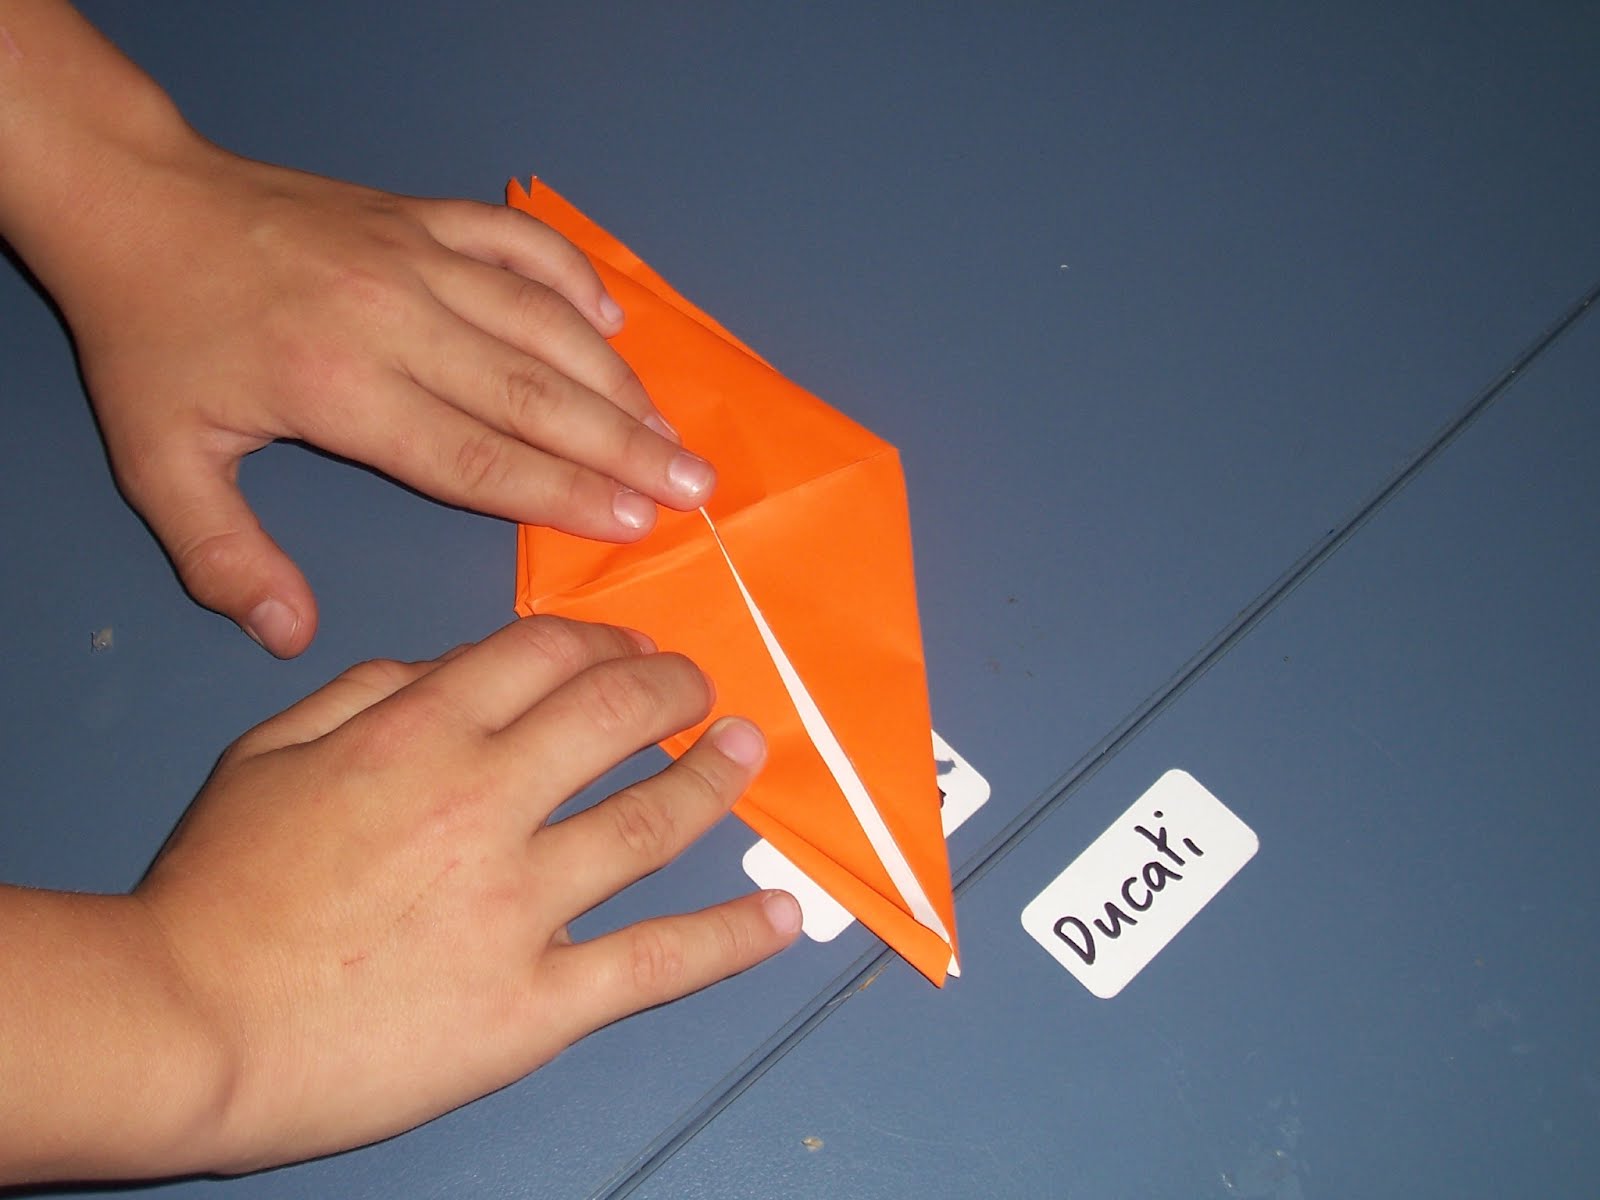 * * | 17. Flatten the paper so it can look like a kite shape. |
 * * | 19. Take the corner of the shaped kite and fold it to the center. |
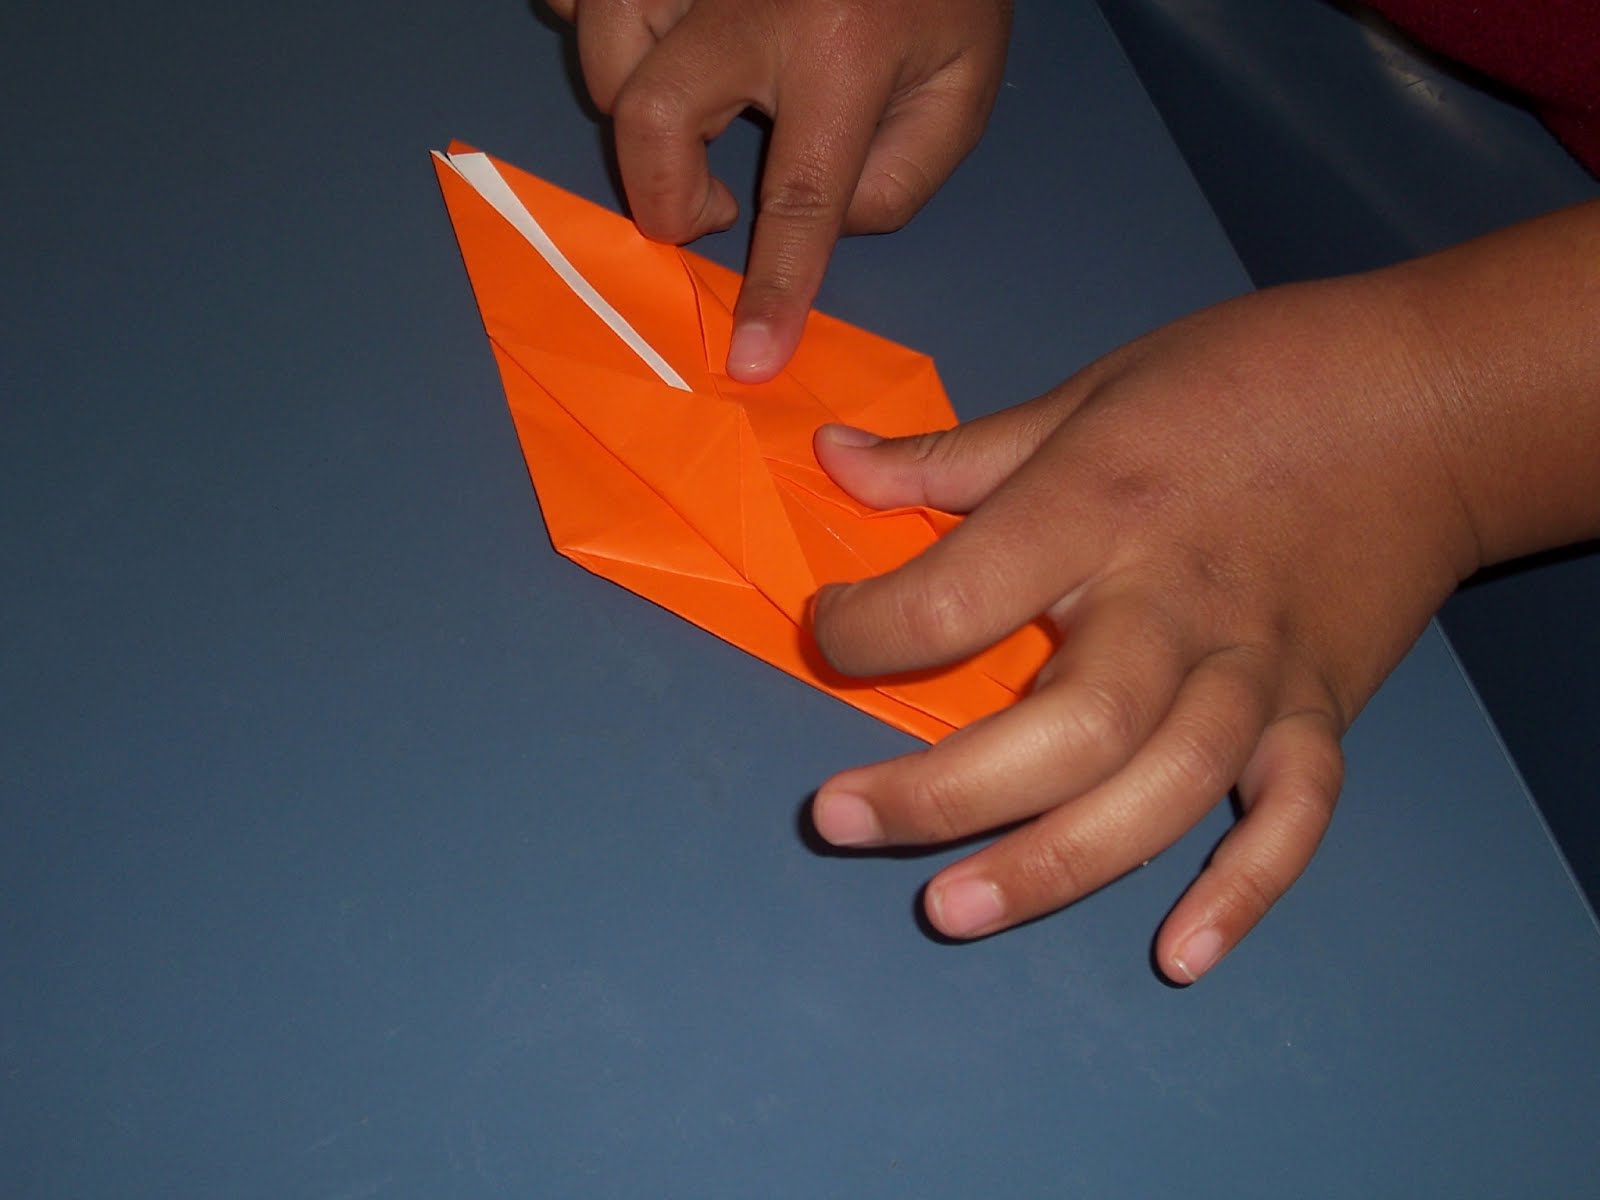 * * | 20. Repeat step 19 on the opposite side |
 * * | 21. Take one of the leg of the origami and fold it behind. |
 * * | 22. Do the same on the other side |
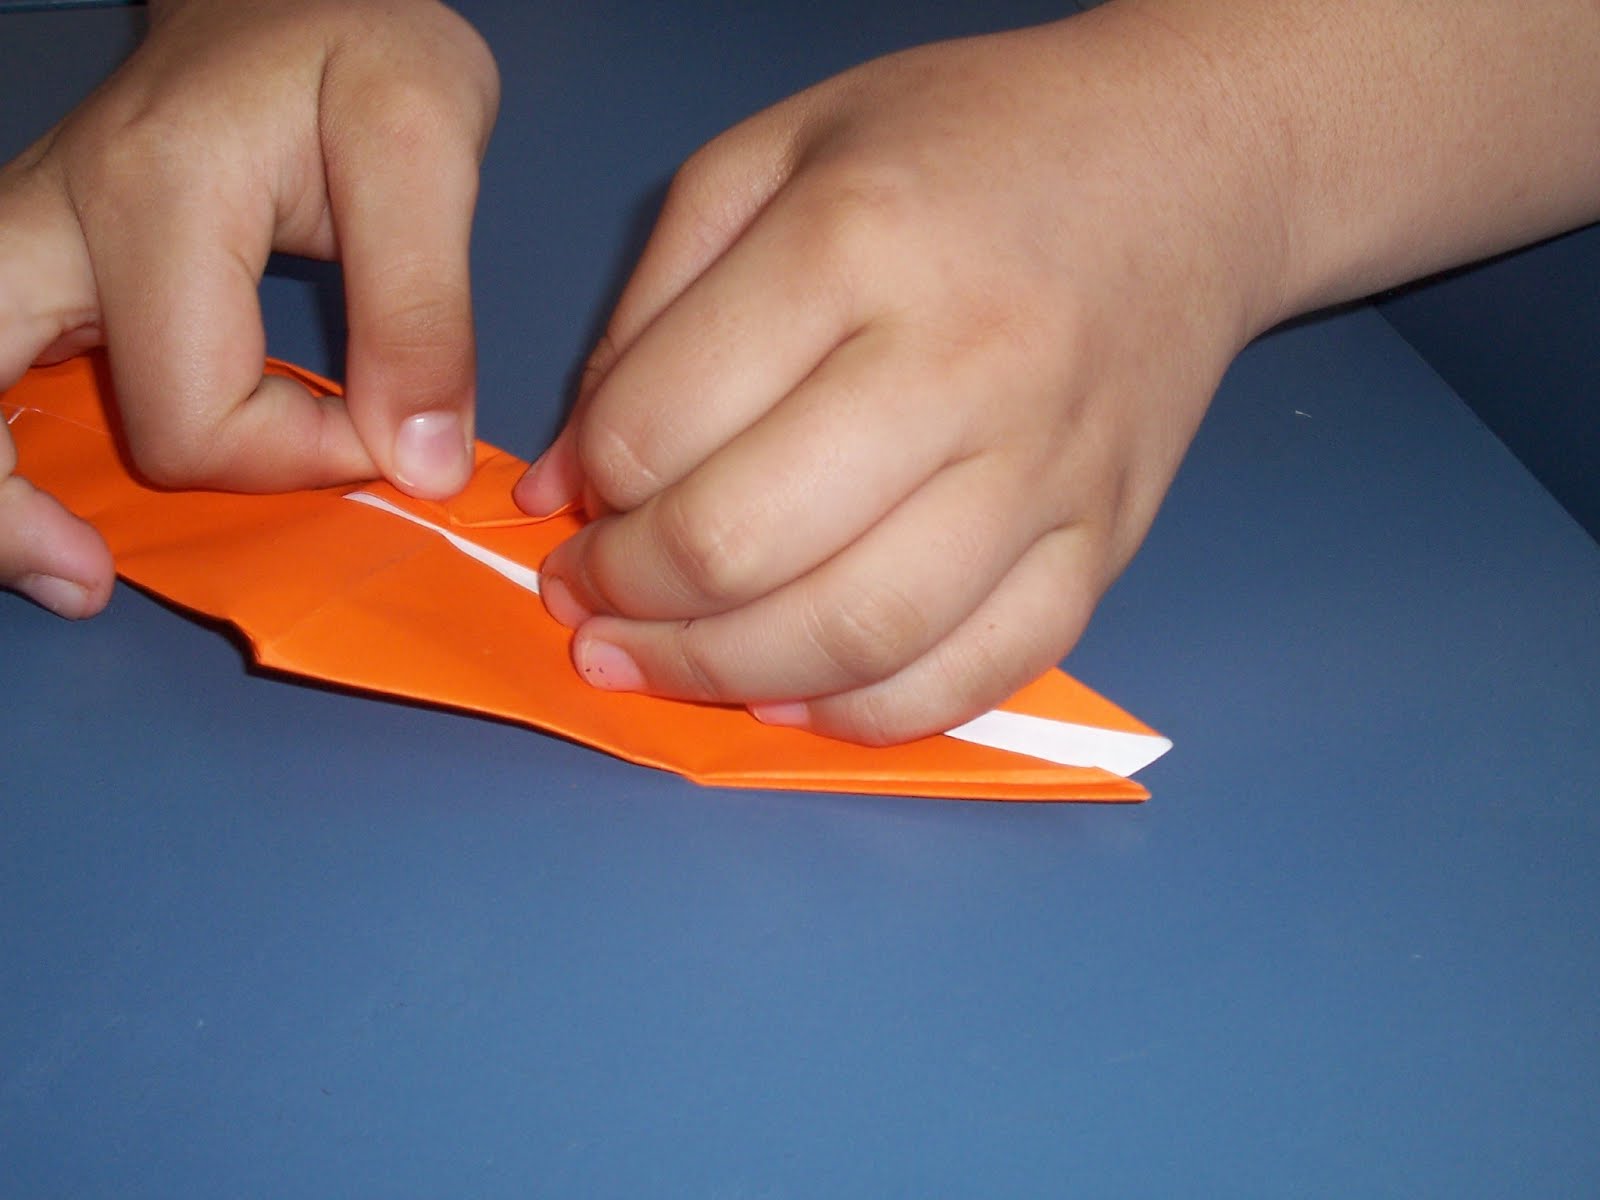
 * * | 23. Take the side and fold it then tuck it in. |
 * * | 24. Now it is folded it should be shaped similar to a knife. |
 * * | 25. Repeat step 23 |
 * * | 26. Fold the origami so that the four spiky tips are all touching. |
 * * | 27. Pull the front and back spiky tips of the origami outwards. This is the head and the tail of the origami crane. |
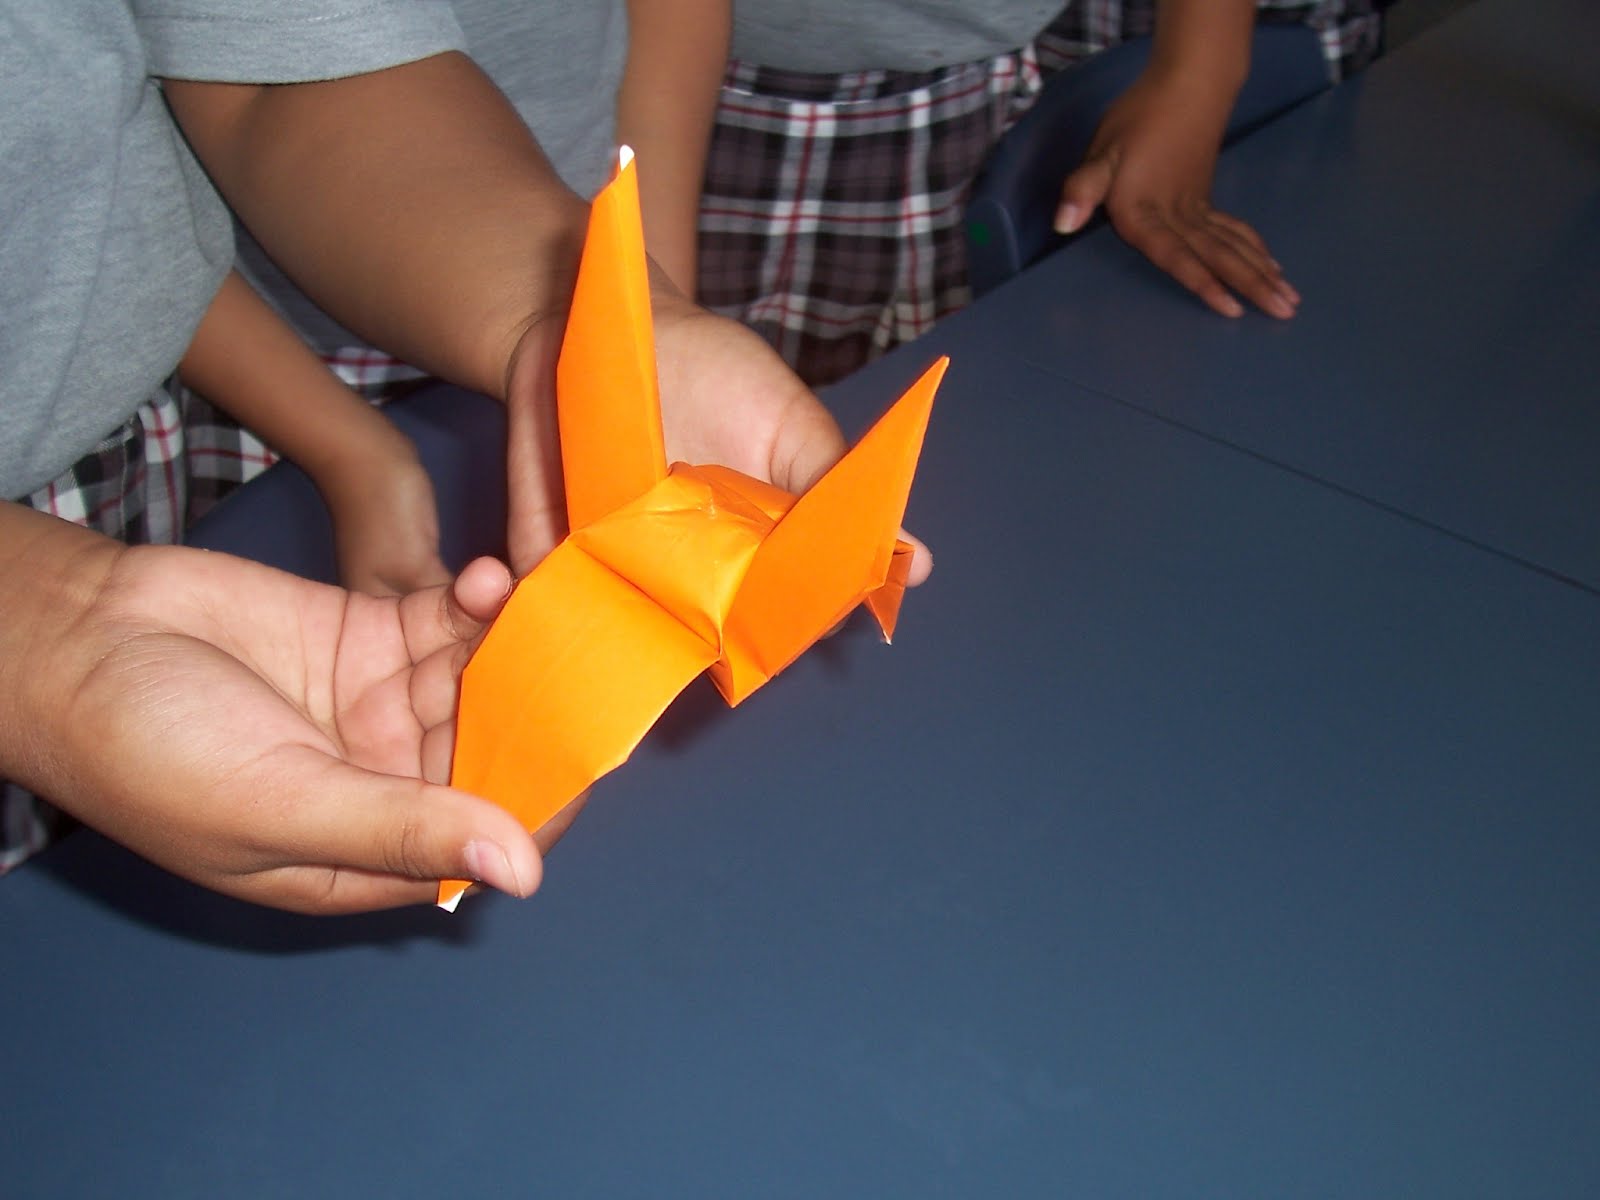 * * | 28. Pulls the last two spiky tips outwards. These are the wings. |
 * * | 29. To finish fold the head of the origami so that it can look like a head. |
 * * | 30. There is your origami! Enjoy making it and show your friends :) |
Monday, 14 May 2012
The paper plane challenge by Tim
Hi this is my paper plane challange .Piripi got the furthest paper plane with a total of 11.16. Santat had the lowest with a total of 2 meters. I got a total of 3.33 meters.
Subscribe to:
Posts (Atom)