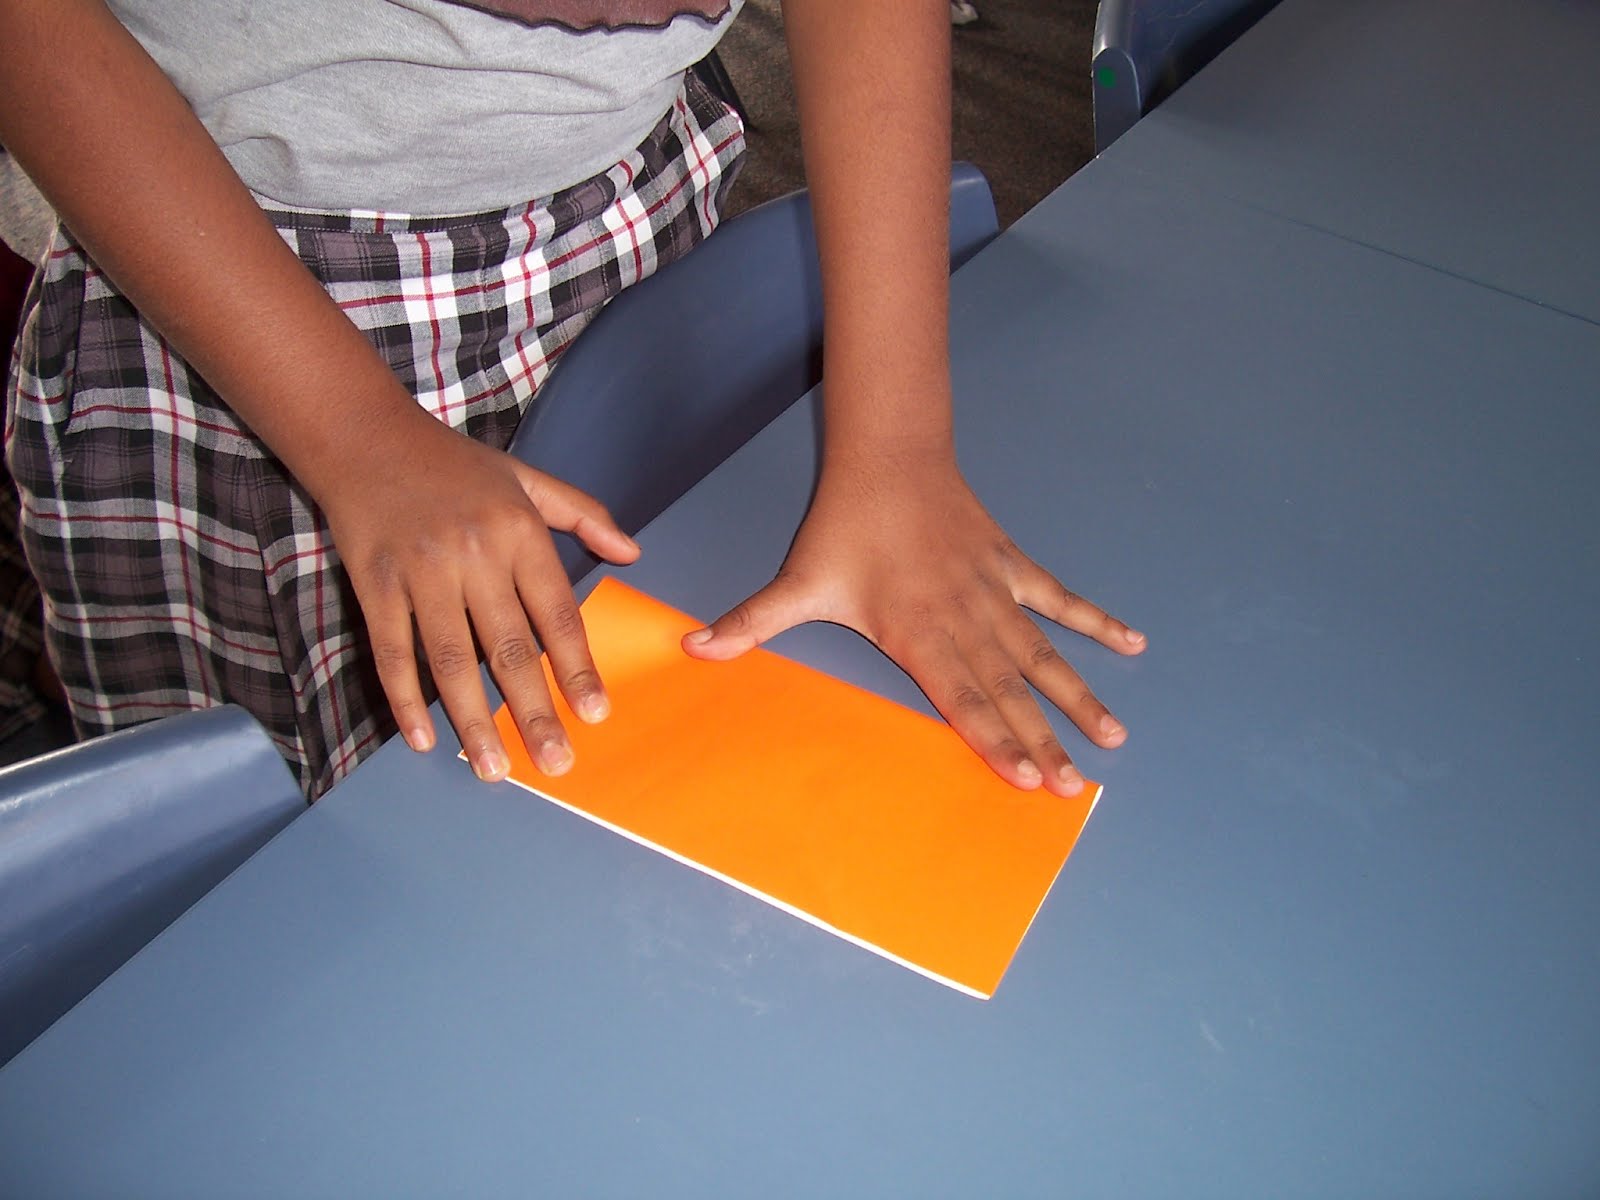
 * * | 1. Fold the piece of paper in half. |
 * * | 2. Fold the paper into half again so it can be into quarters. |
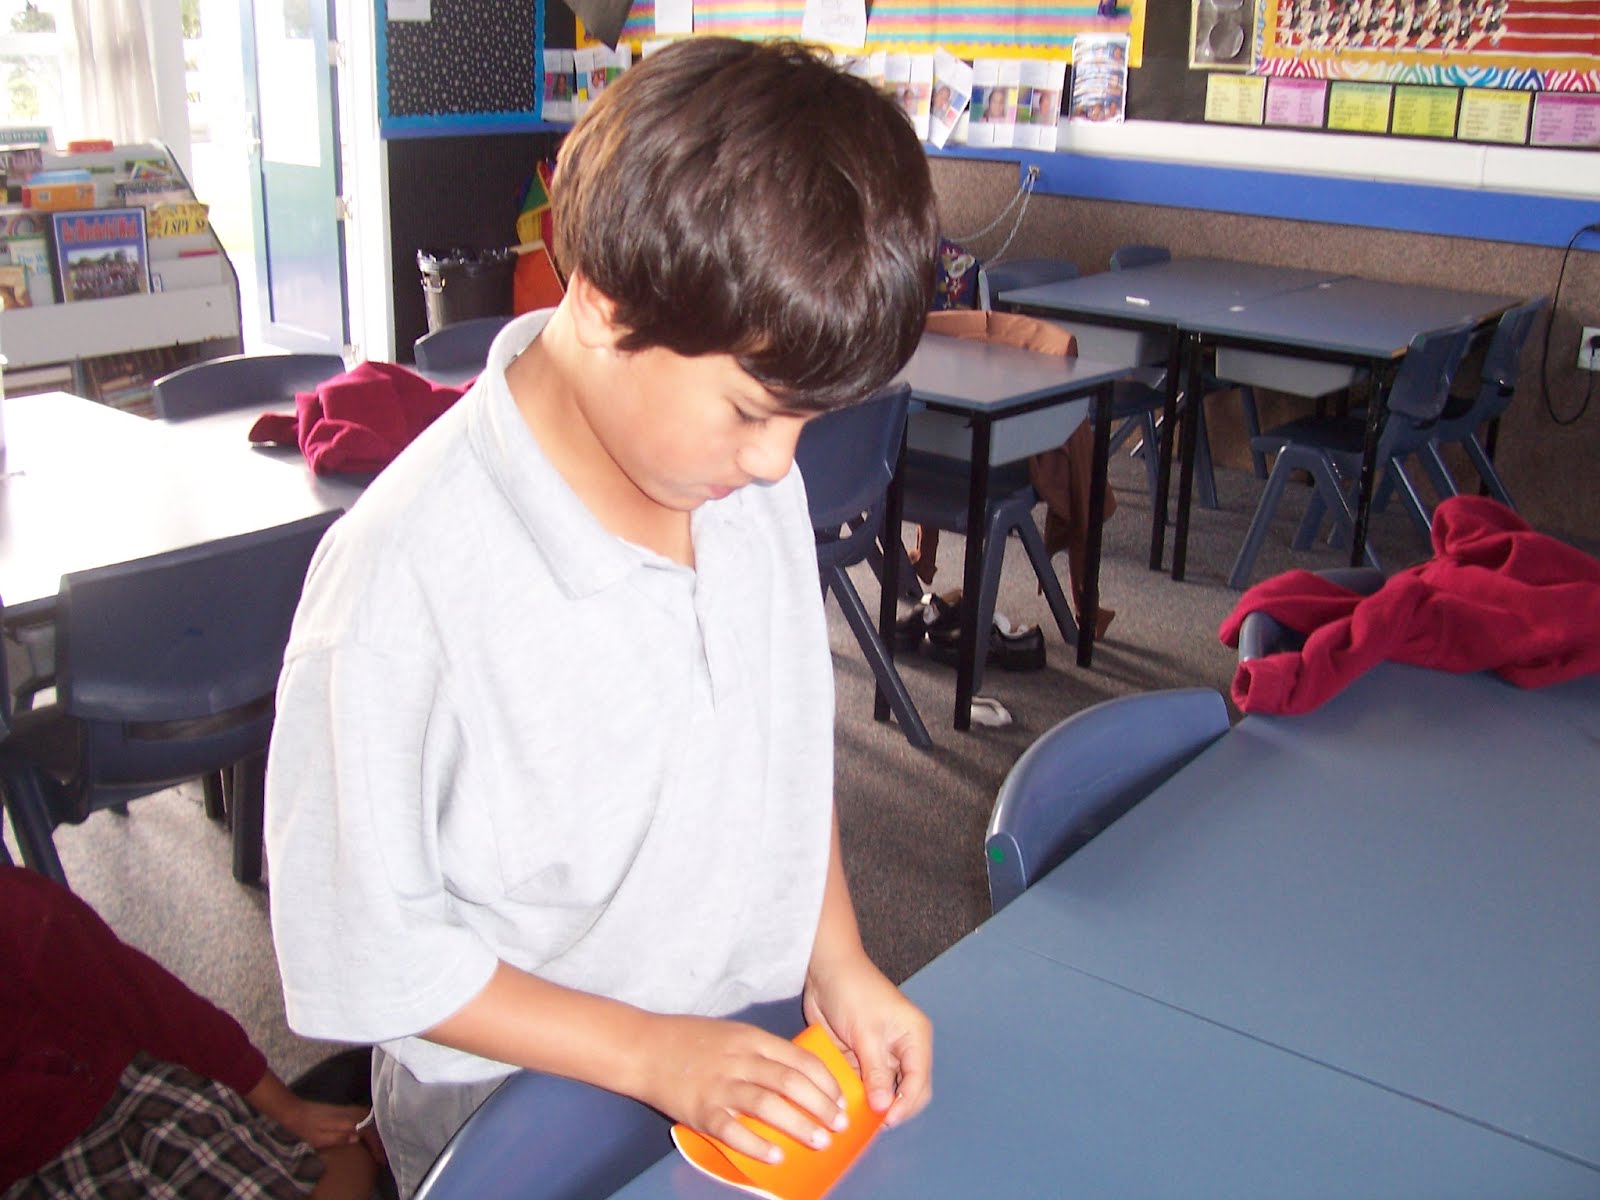
 | 3. Open the paper up. |
 * * | 4. Fold the paper into a triangle. |
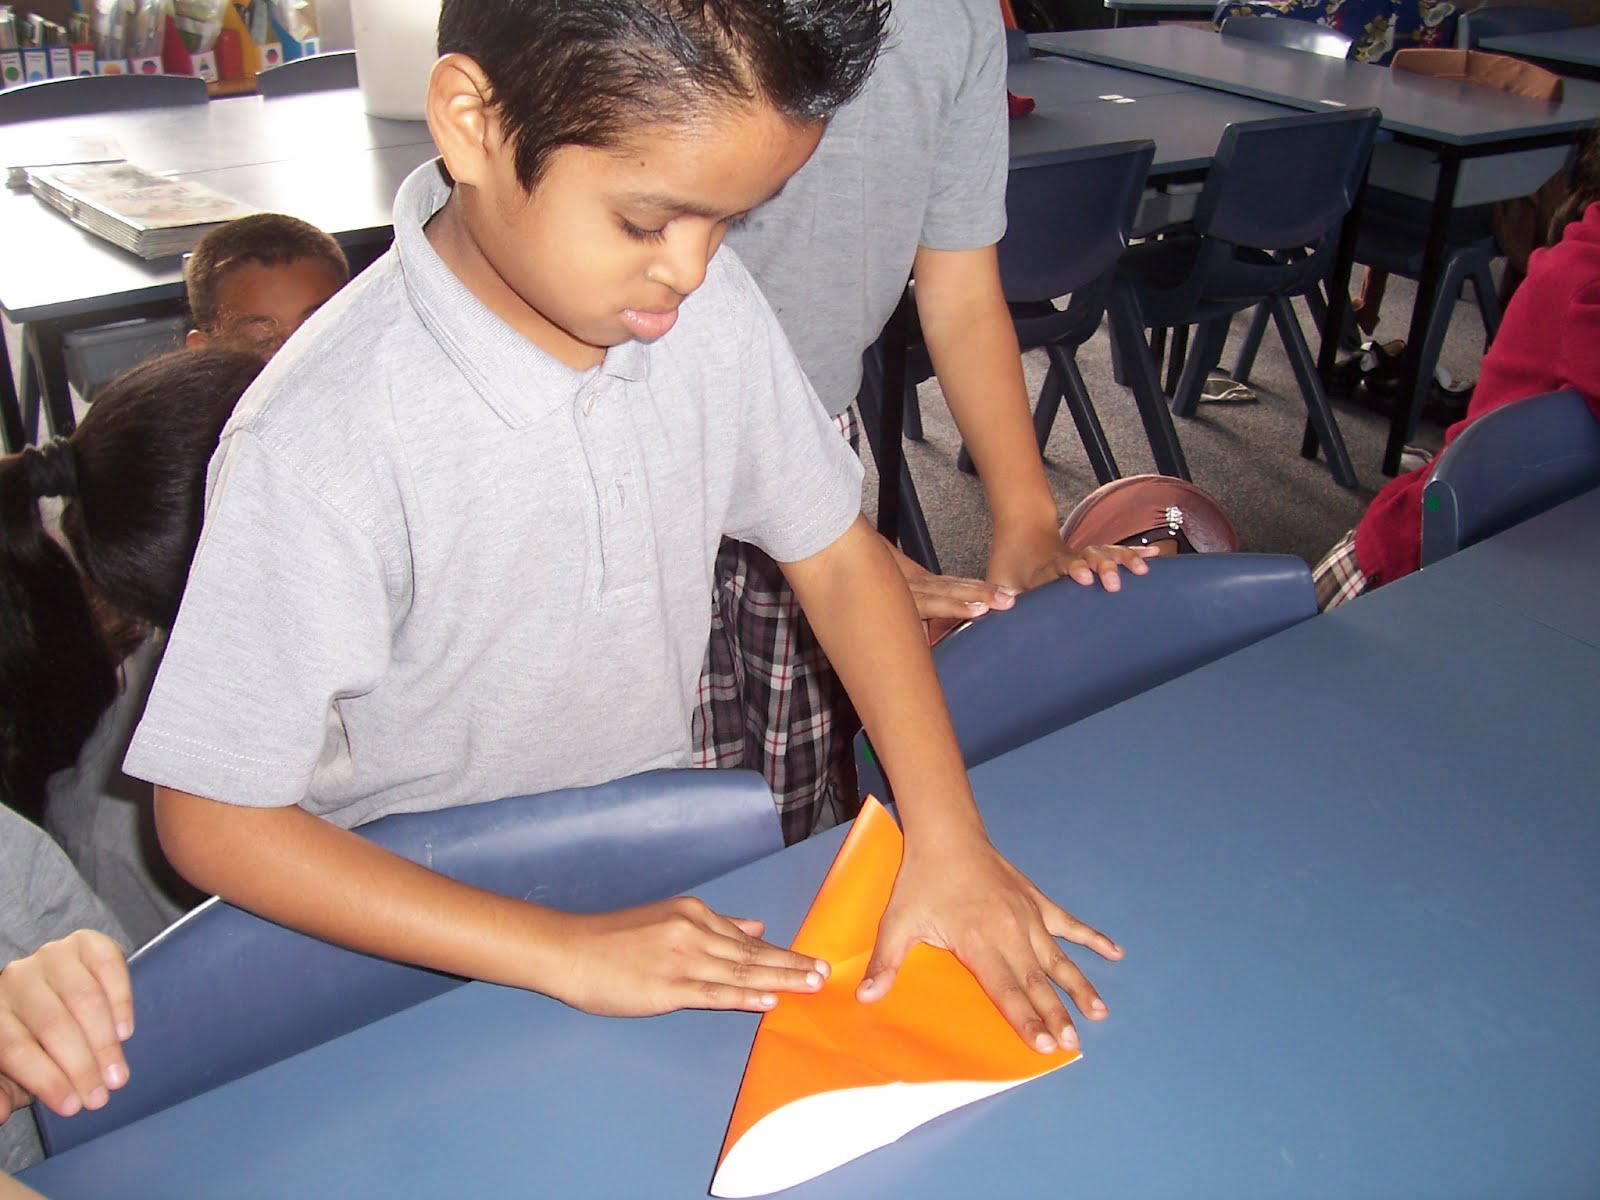
 * * | 5. Flip the paper over and fold it into a triangle. |
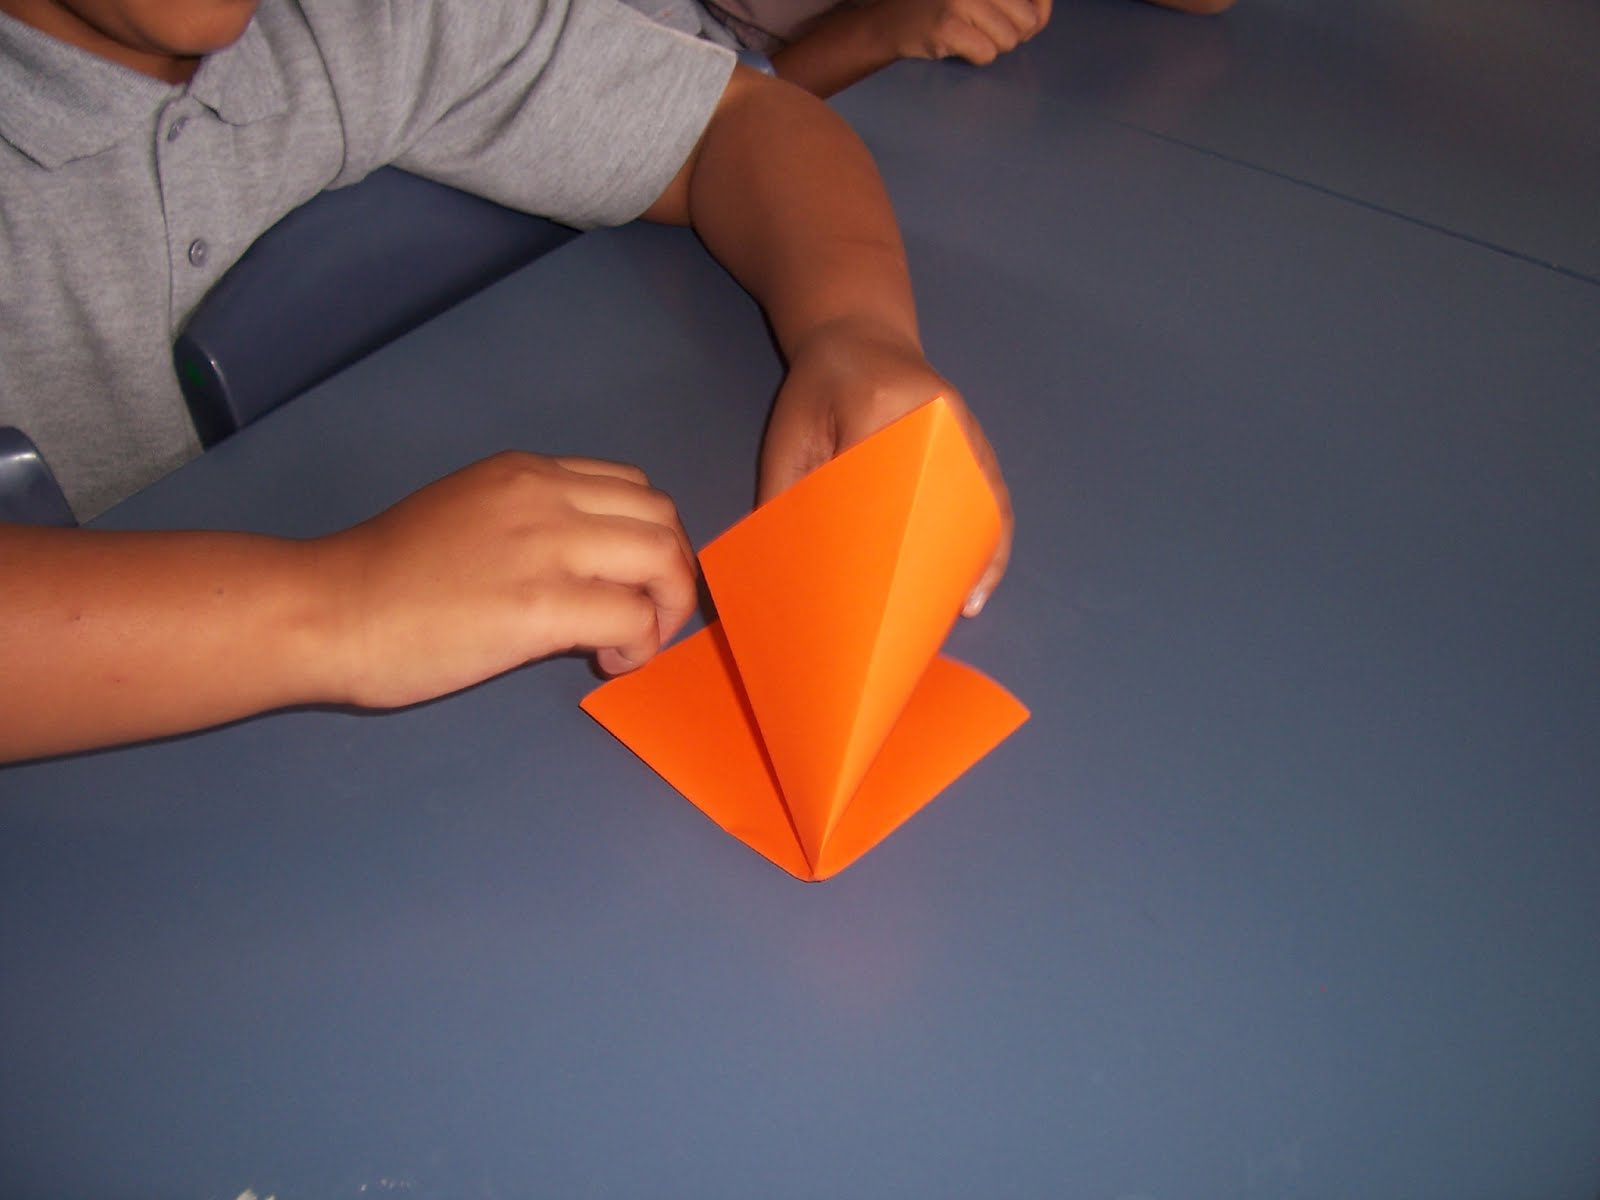 * * | 6. Take the sides of the triangle and push it down so it can be a square. |
 * * | 7. Push the paper down really hard(Make sure the flappy bit is facing you) |
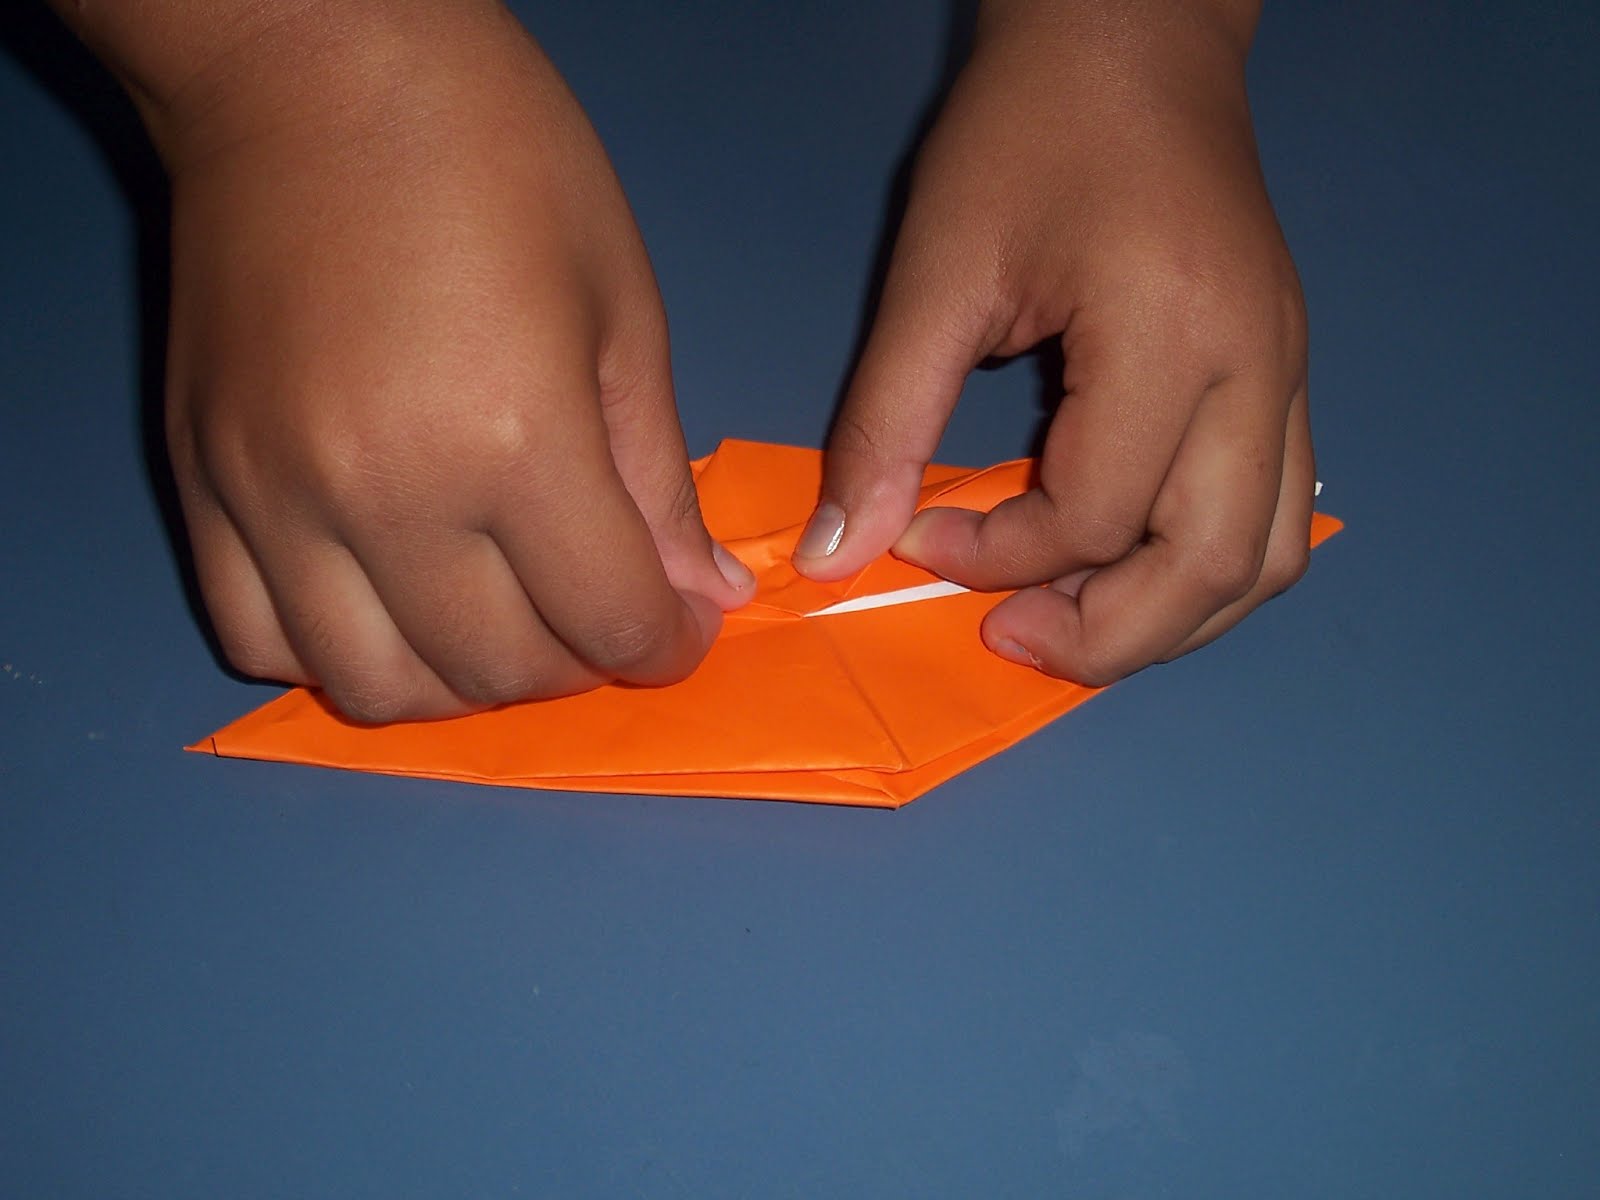
 * * | 8. Take both corners of the square and fold it to the center. |
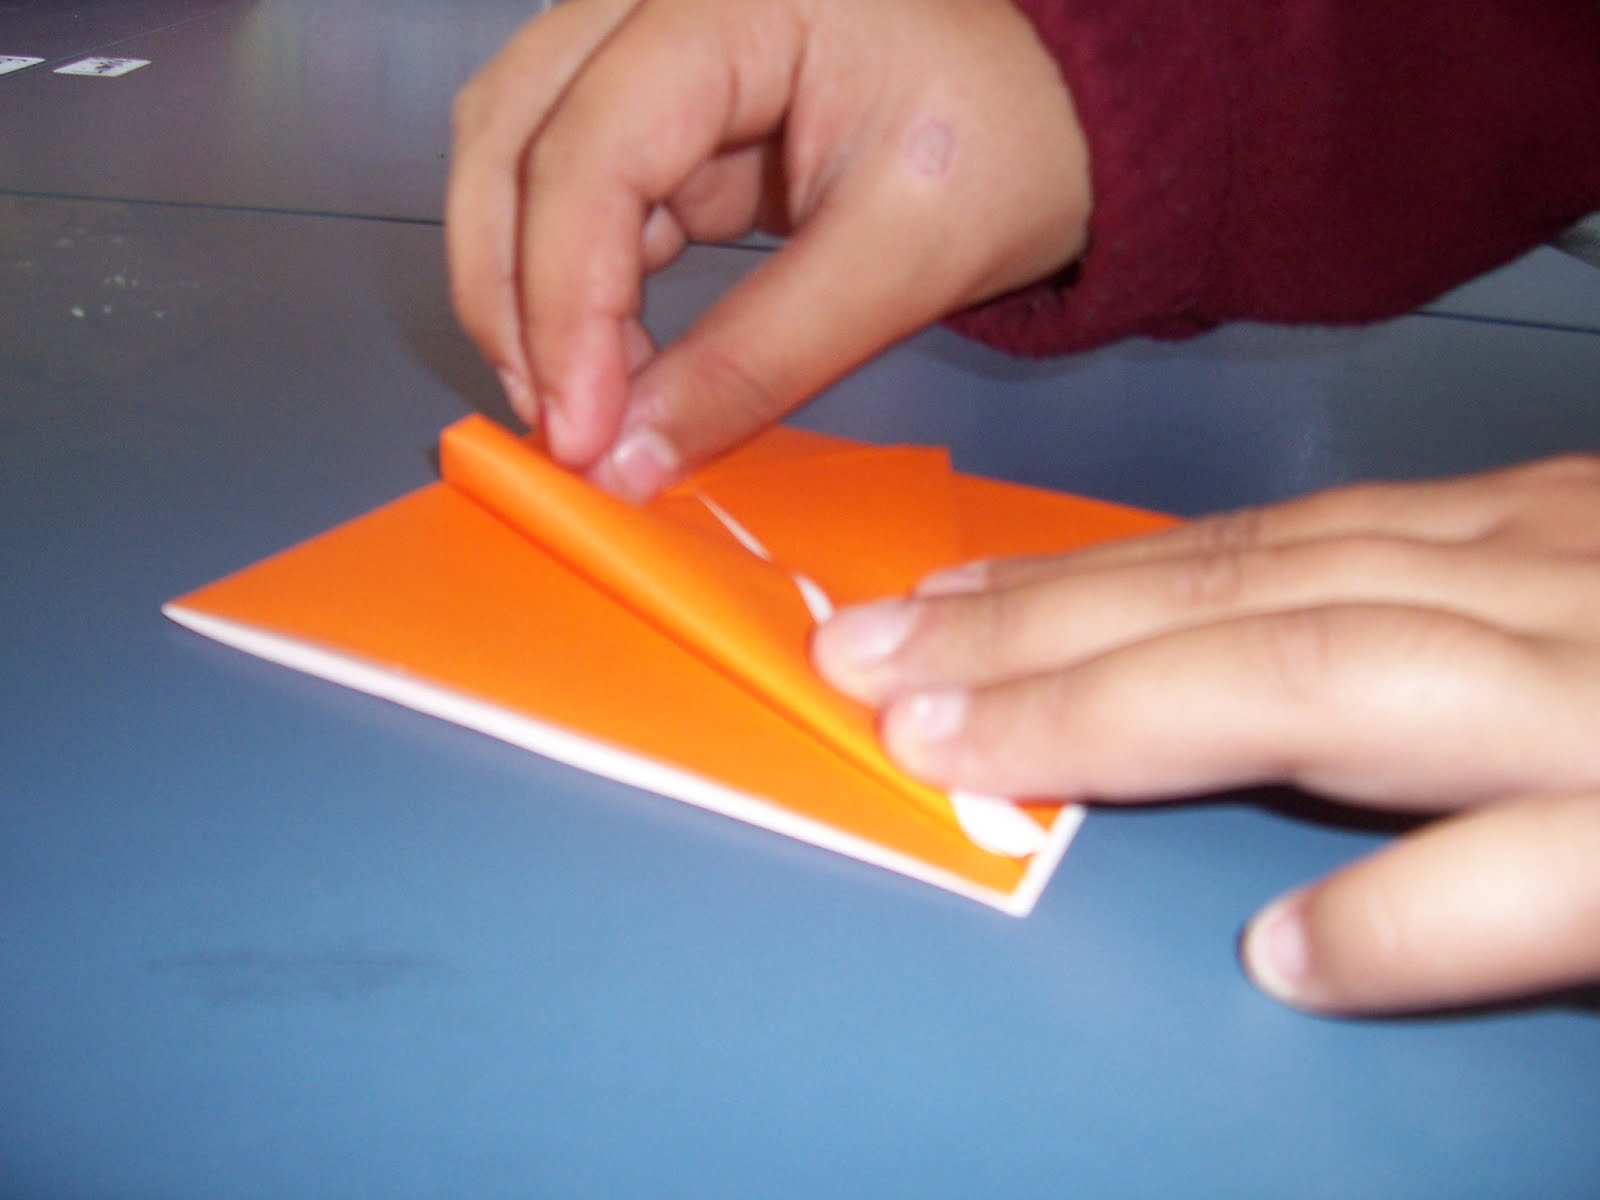 * * | 9. Flip the paper over and do the same thing take both corners and fold it to the center. |
 * * | 10. repeat step 9 on the other side. |
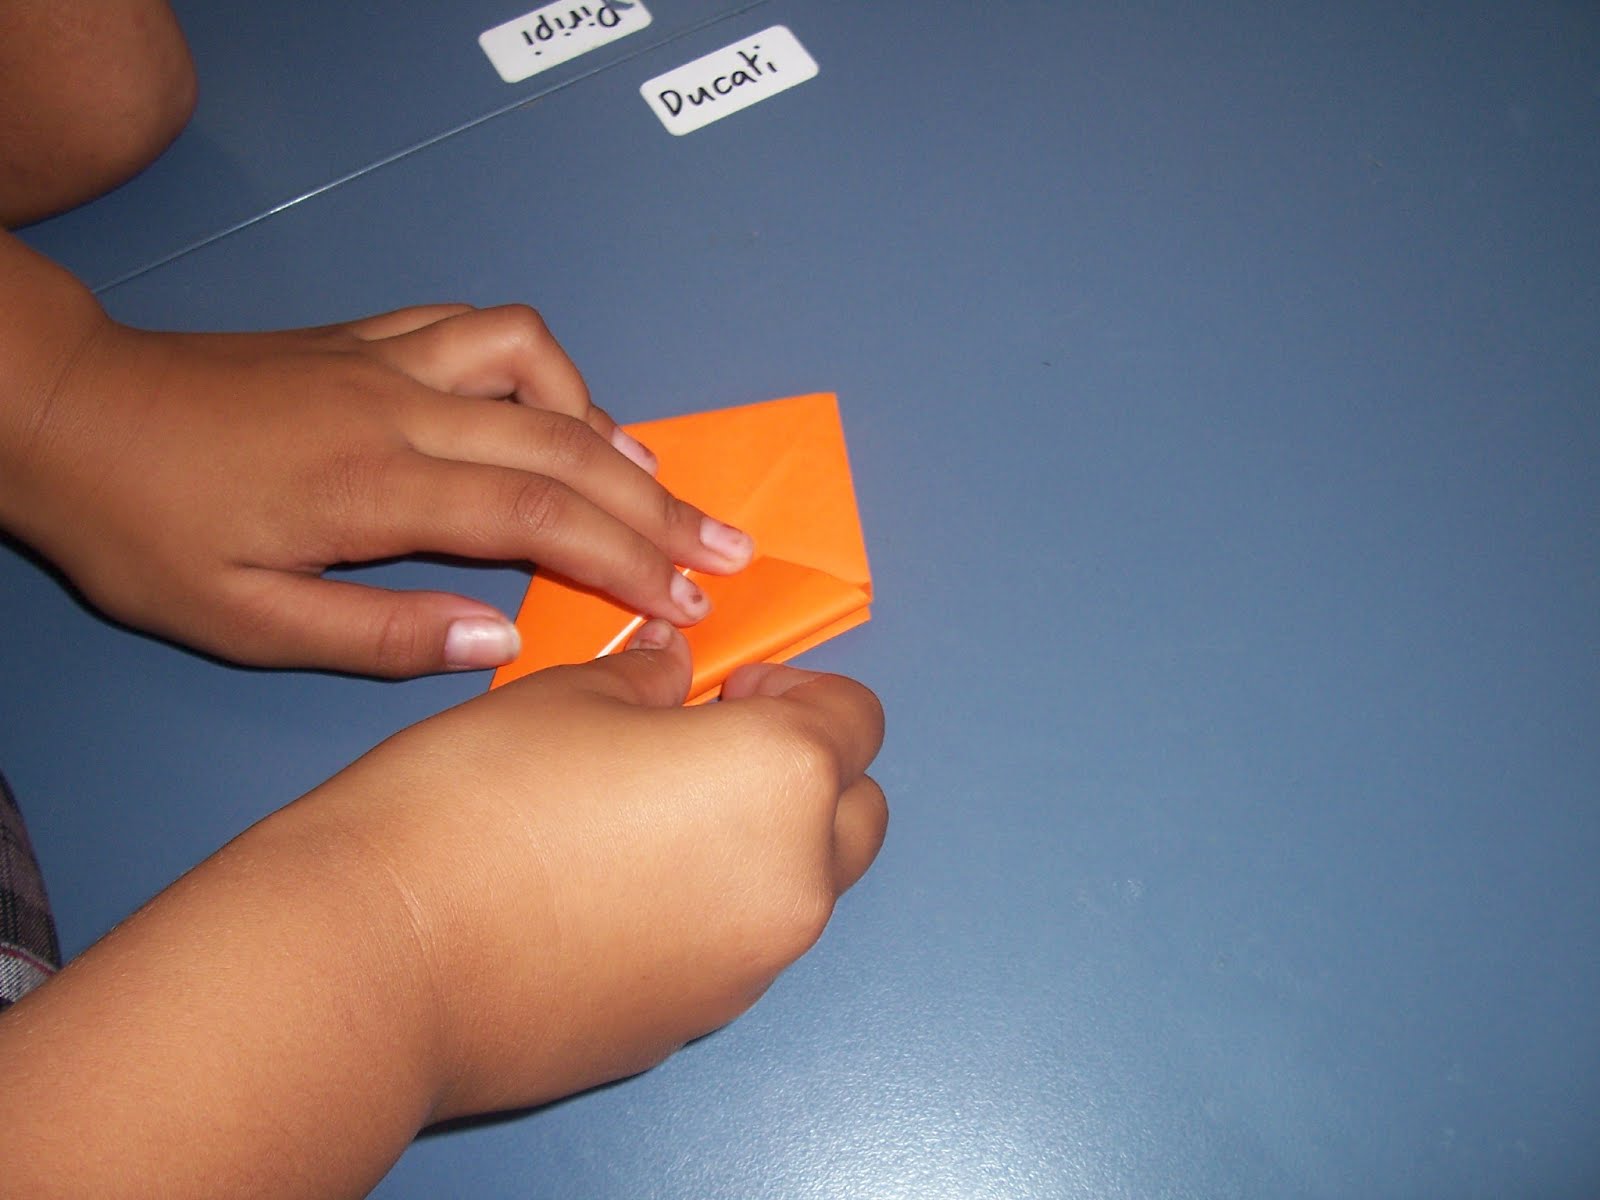 * * | 11. Fold it down. |
 * * | 12. Take the top bit and fold it to the center. |
 * * | 13. Open the paper up. |
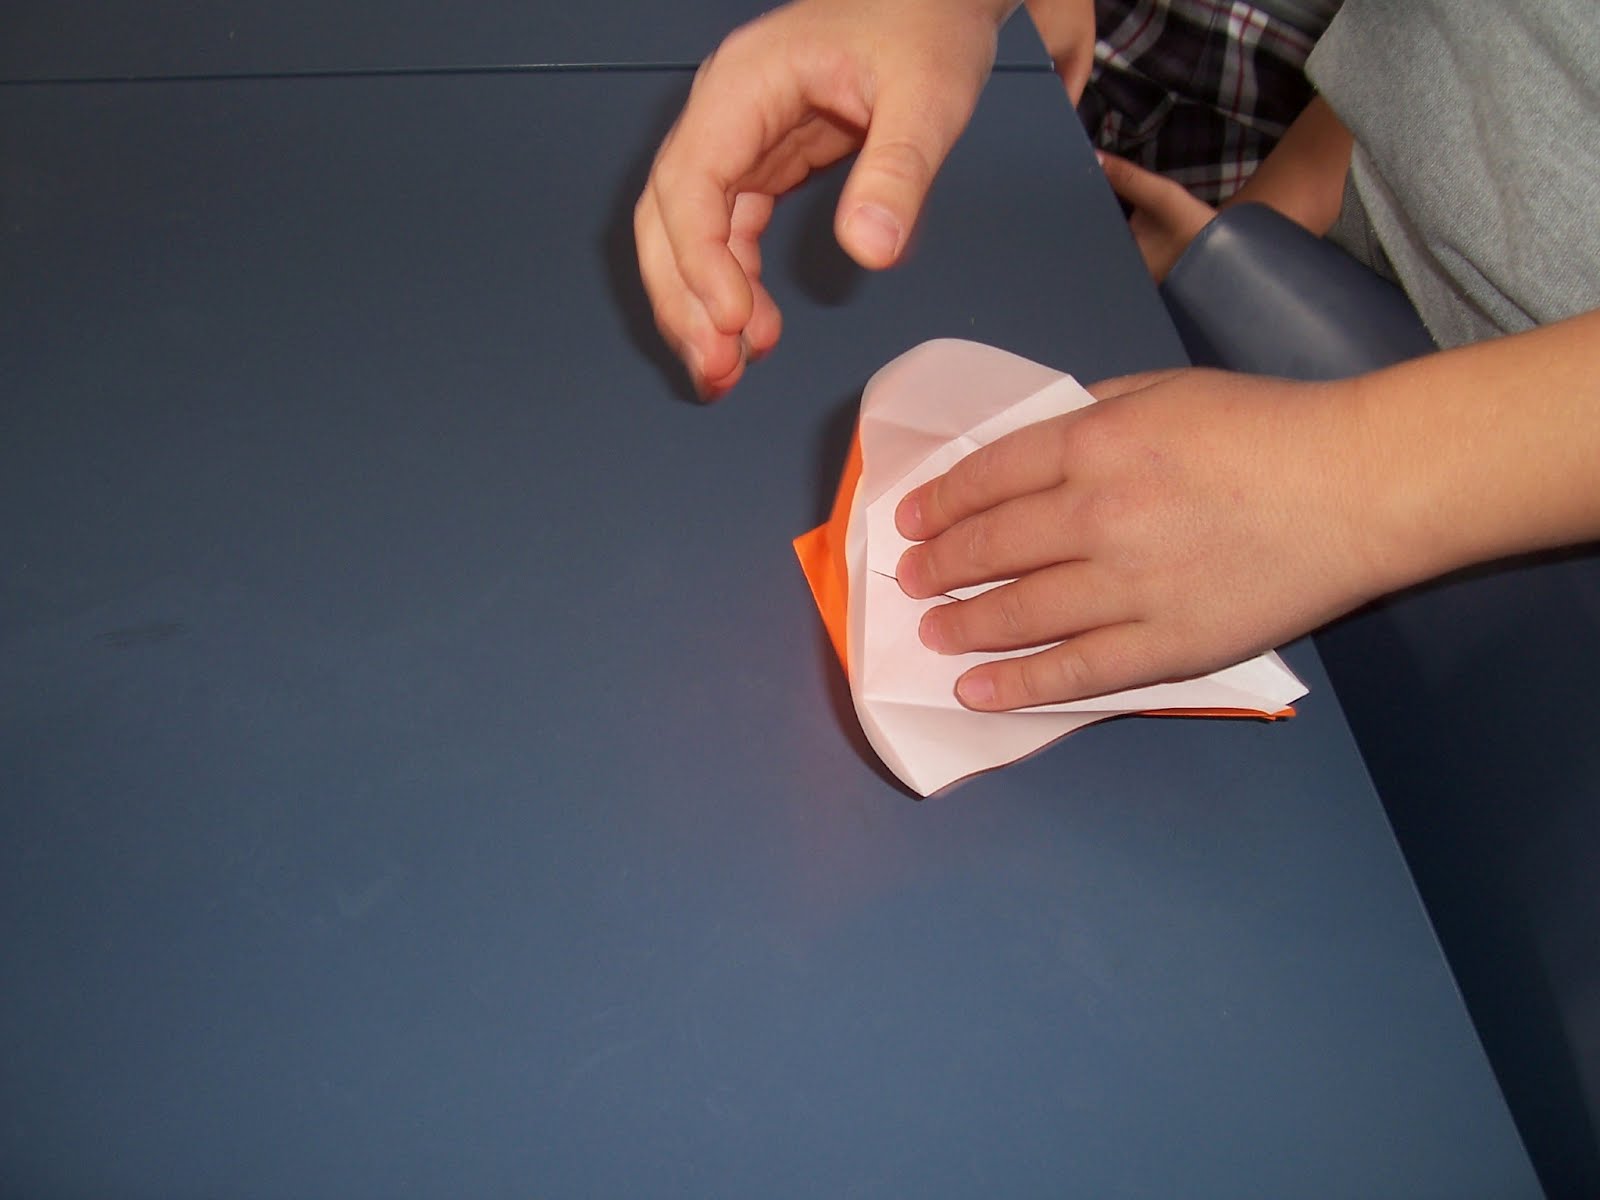 * * | 14. Open the flappy bit. |
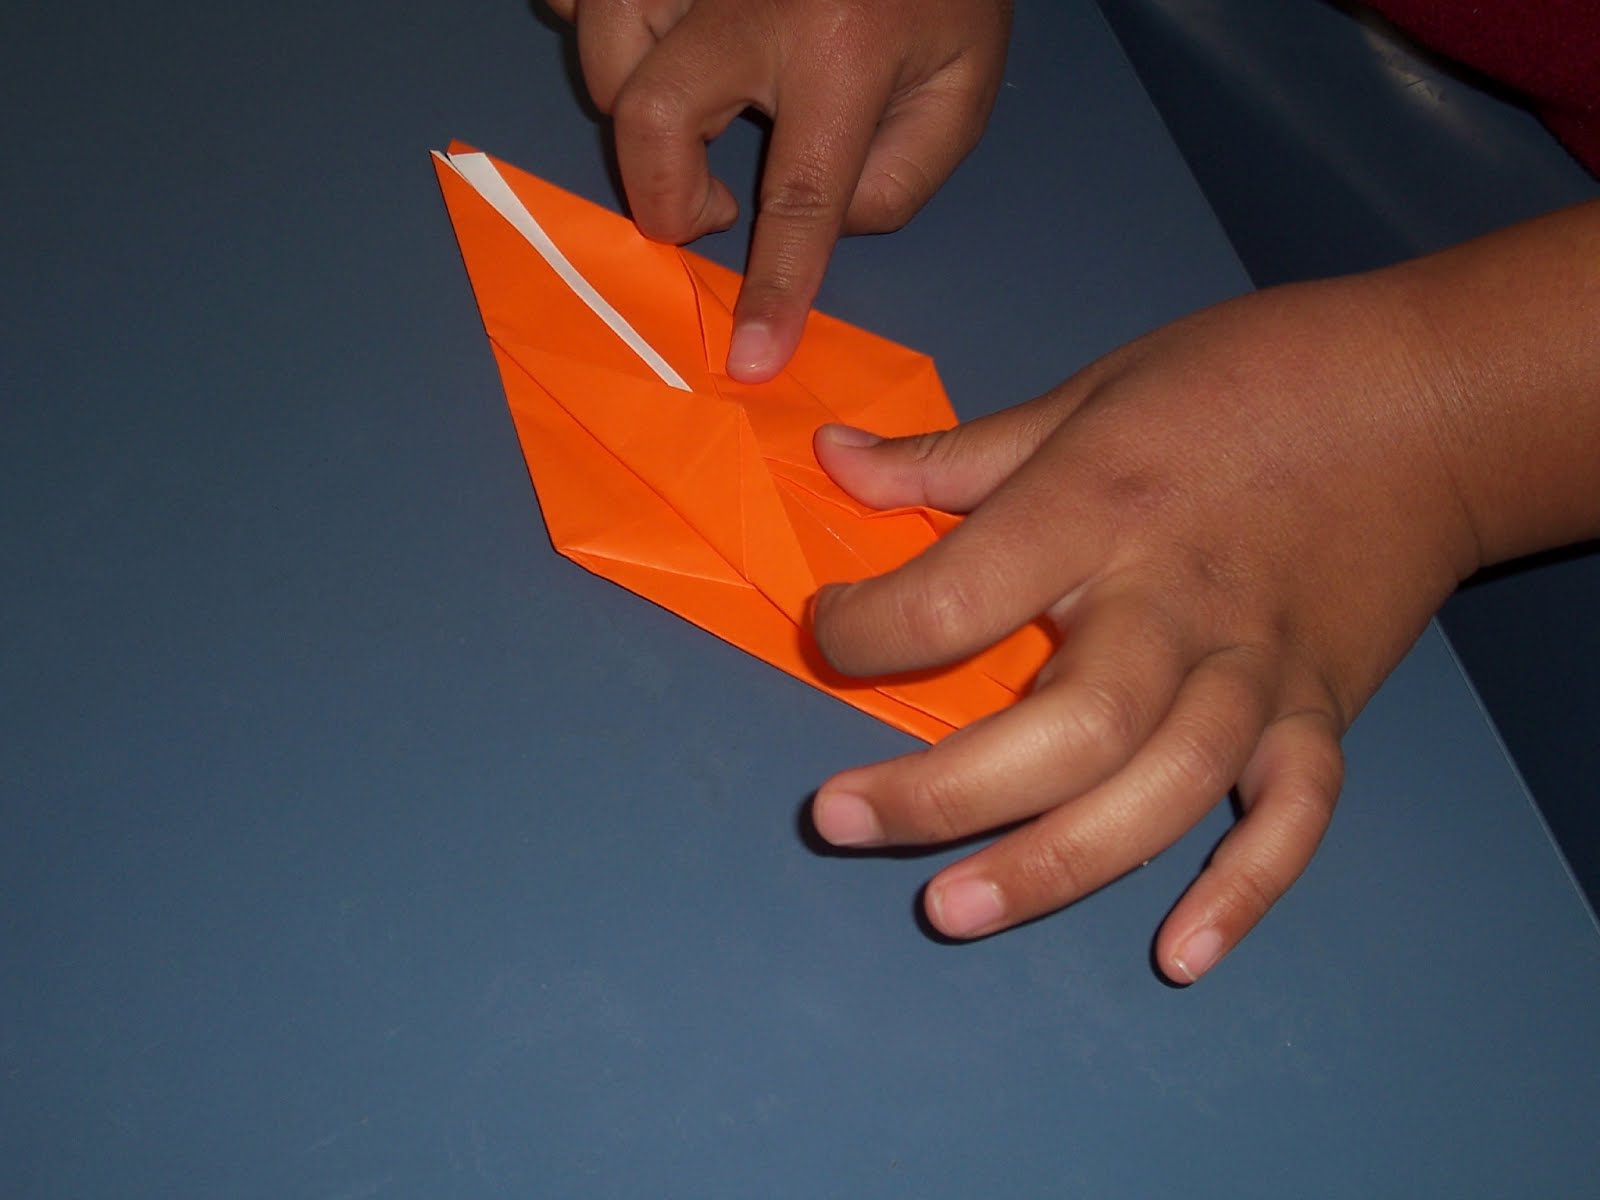
 * * | 15. Fold the sides down so it looks like a kite. |
 * * | 16. Repeat step 15 on the other. |
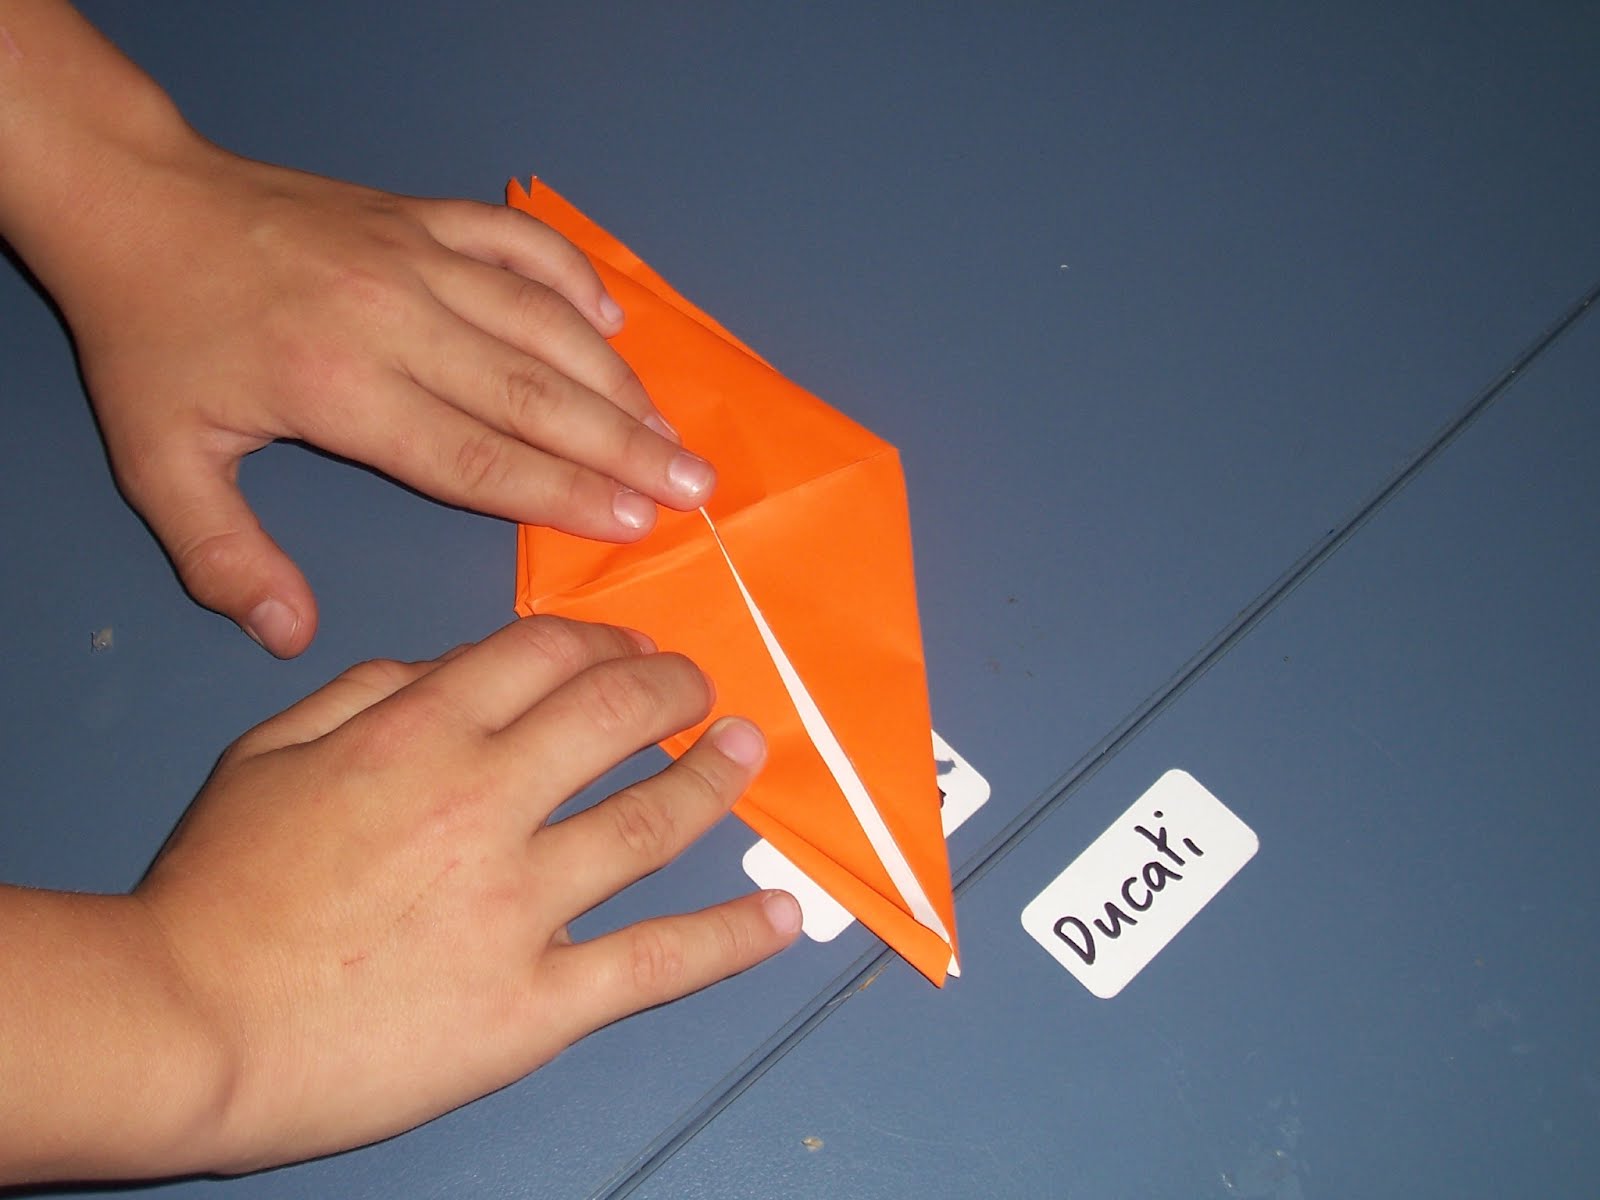 * * | 17. Flatten the paper so it can look like a kite shape. |
 * * | 19. Take the corner of the shaped kite and fold it to the center. |
 * * | 20. Repeat step 19 on the opposite side |
 * * | 21. Take one of the leg of the origami and fold it behind. |
 * * | 22. Do the same on the other side |
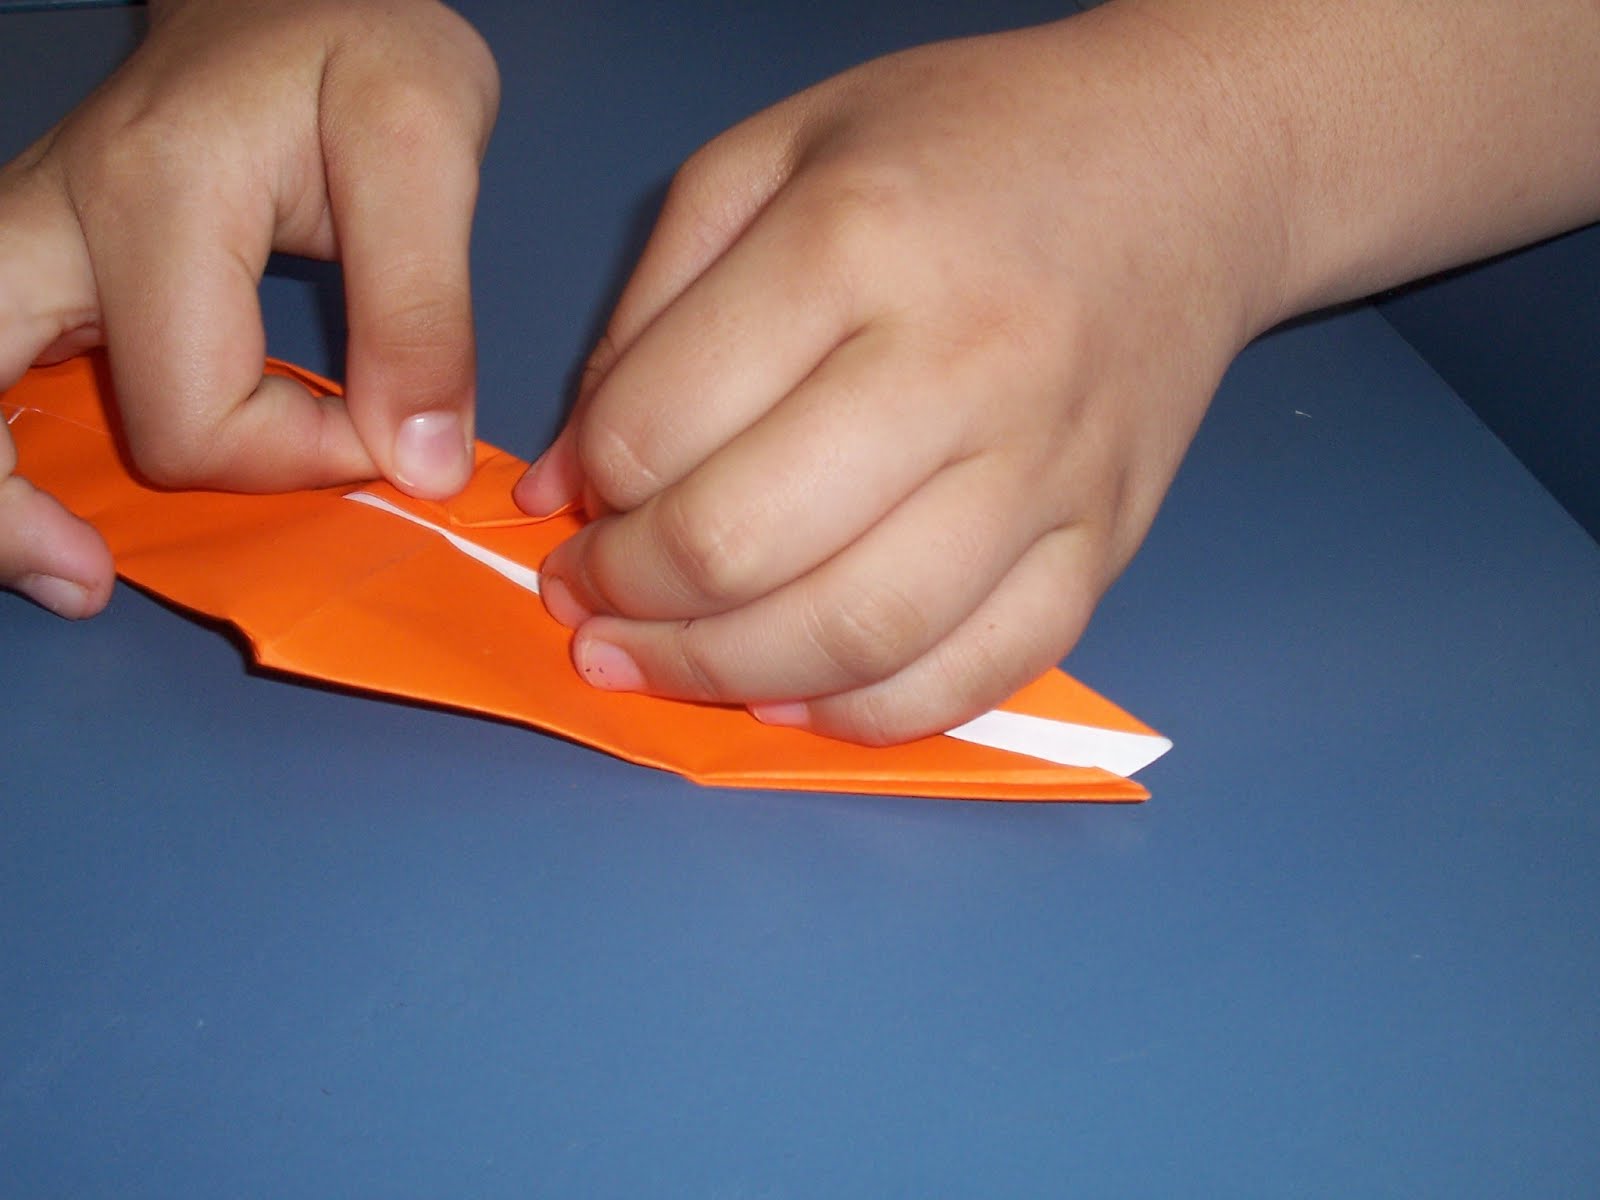
 * * | 23. Take the side and fold it then tuck it in. |
 * * | 24. Now it is folded it should be shaped similar to a knife. |
 * * | 25. Repeat step 23 |
 * * | 26. Fold the origami so that the four spiky tips are all touching. |
 * * | 27. Pull the front and back spiky tips of the origami outwards. This is the head and the tail of the origami crane. |
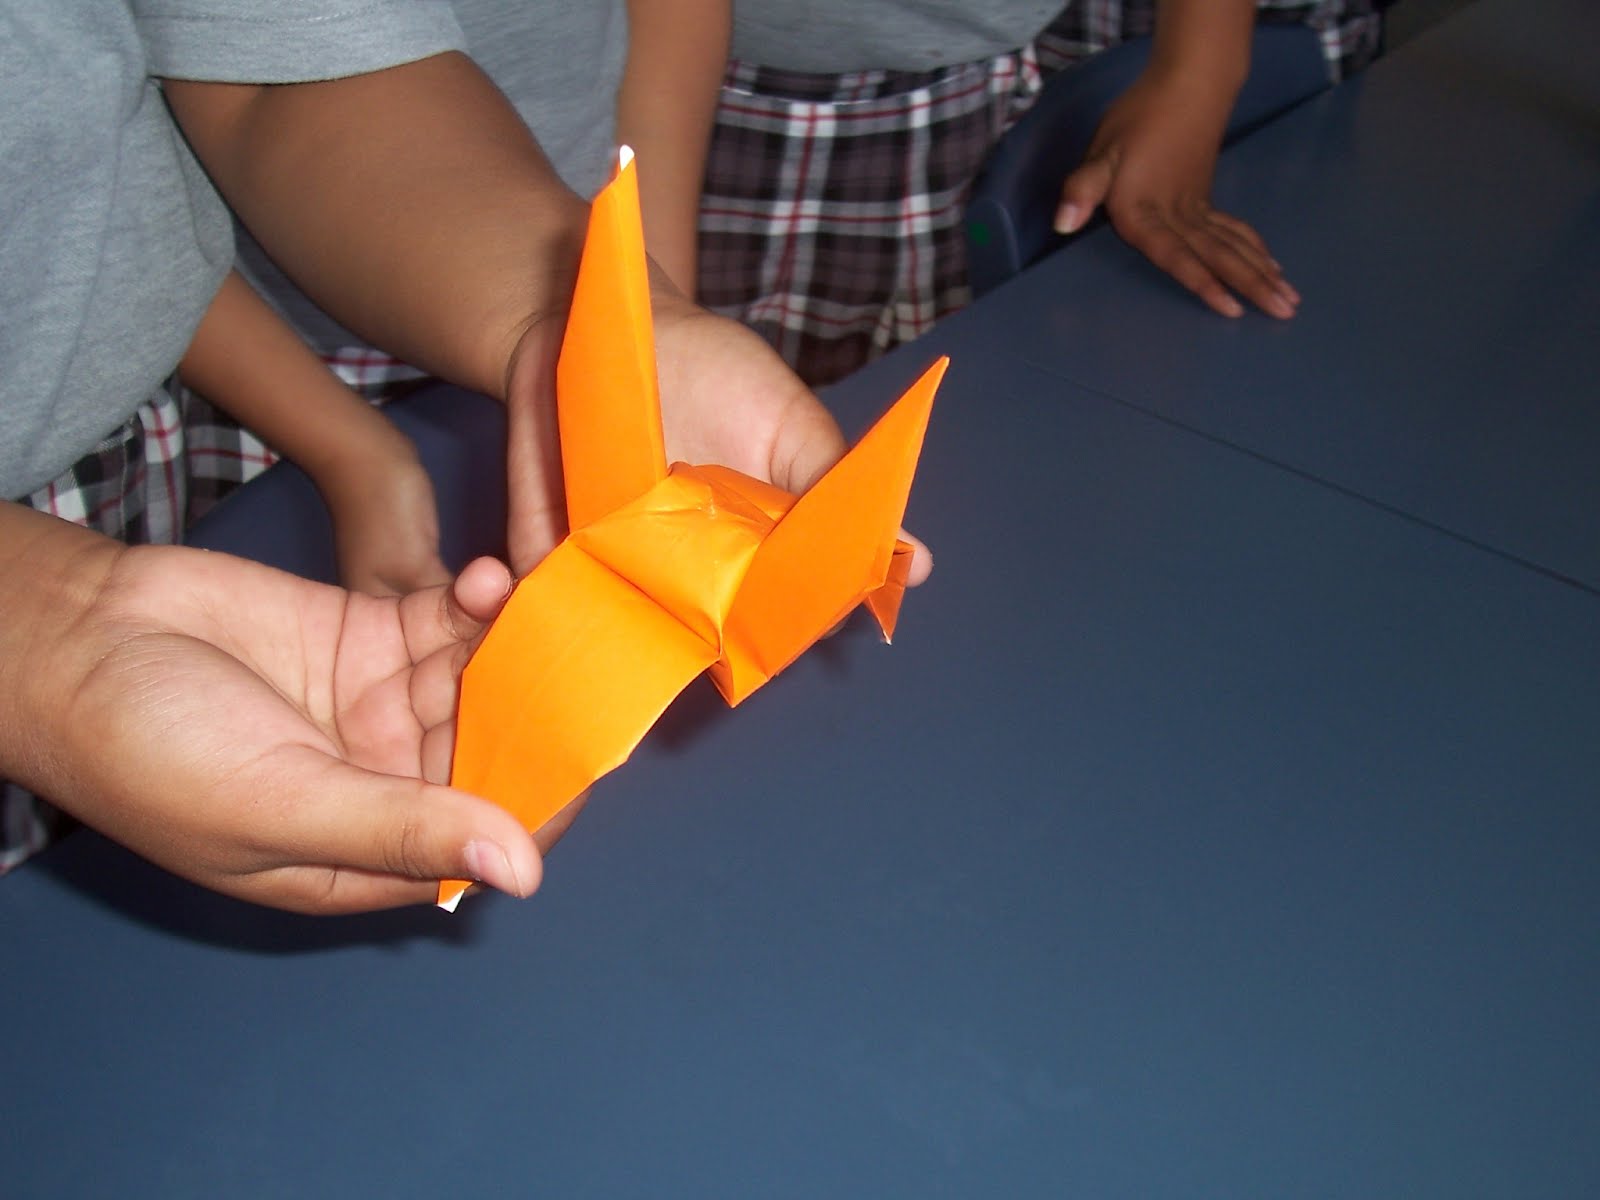 * * | 28. Pulls the last two spiky tips outwards. These are the wings. |
 * * | 29. To finish fold the head of the origami so that it can look like a head. |
 * * | 30. There is your origami! Enjoy making it and show your friends :) |
Tuesday, 22 May 2012
My Origami Crane instructions
Subscribe to:
Post Comments (Atom)
1 comment:
Hi Tim
Your Origami Crane Instructions look really helpful I also like the smiley face at the end.
From Caitlin
Post a Comment
Note: only a member of this blog may post a comment.