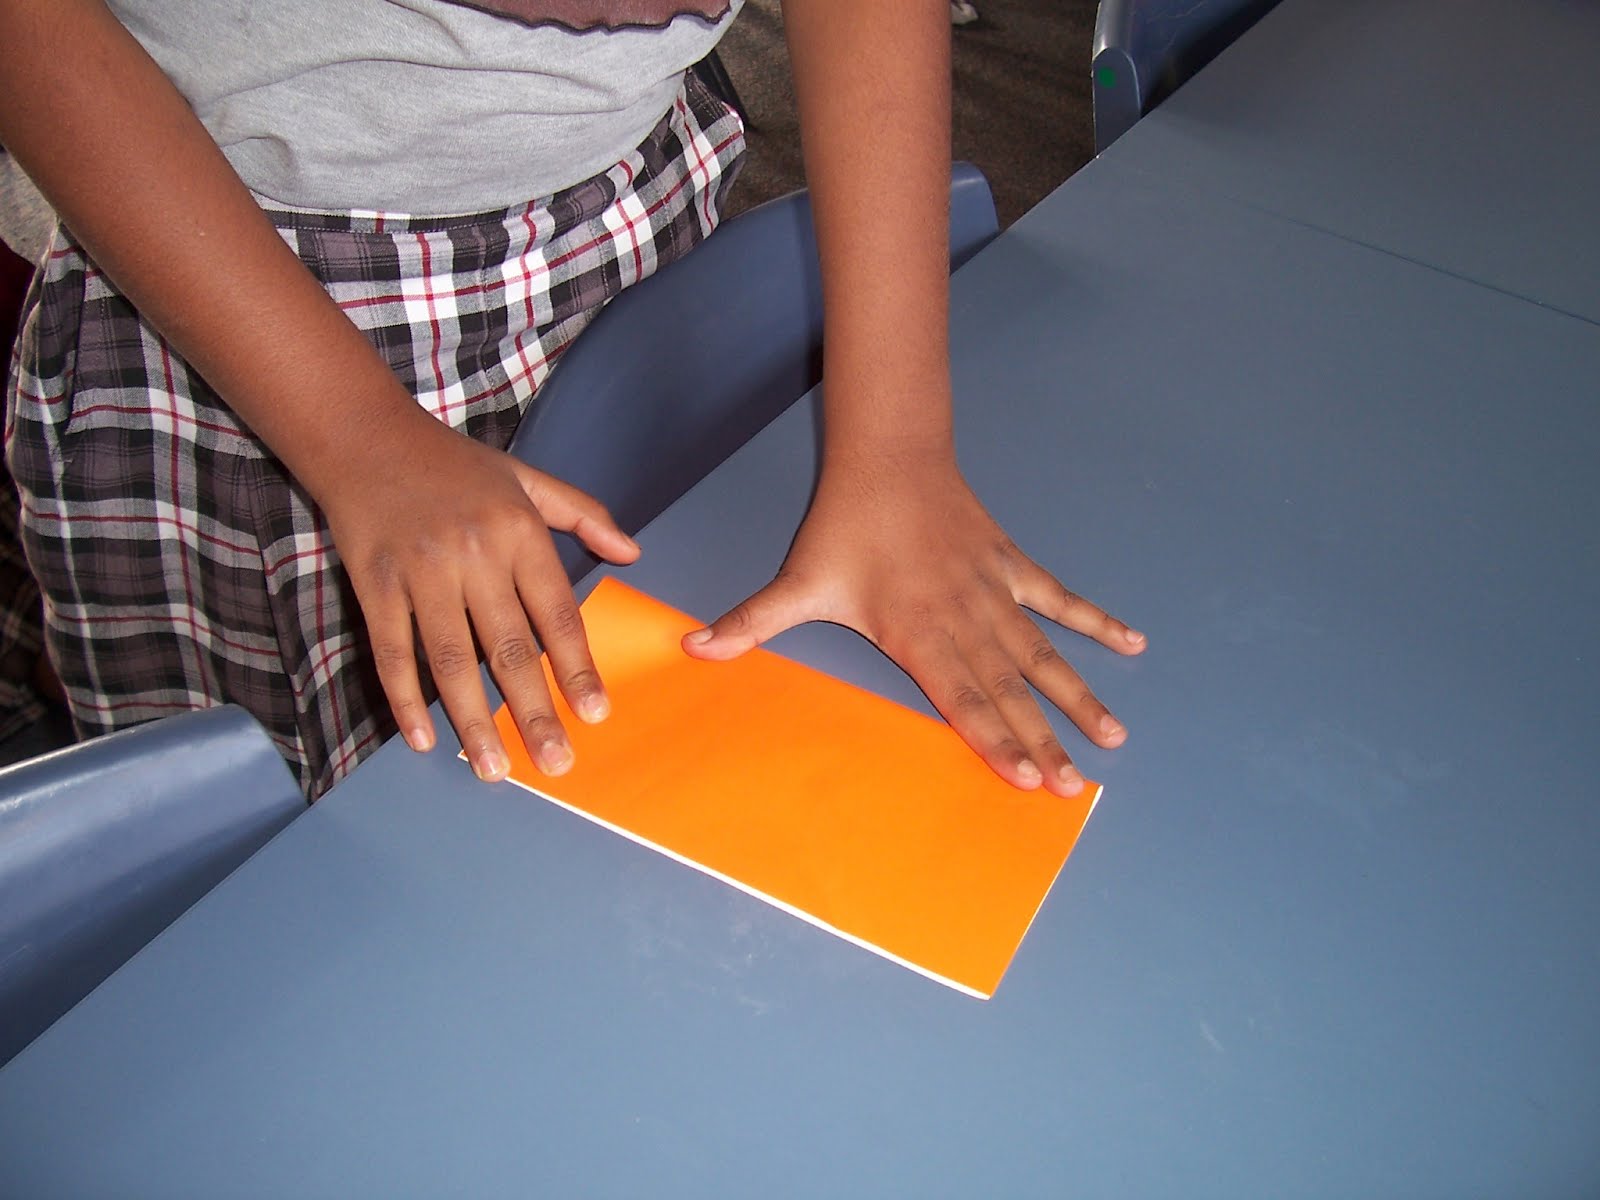
 * * | 1. Fold the piece of paper in half. |
 * * | 2. Fold the paper into half again so it can be into quarters. |
 | 3. Open the paper up. |
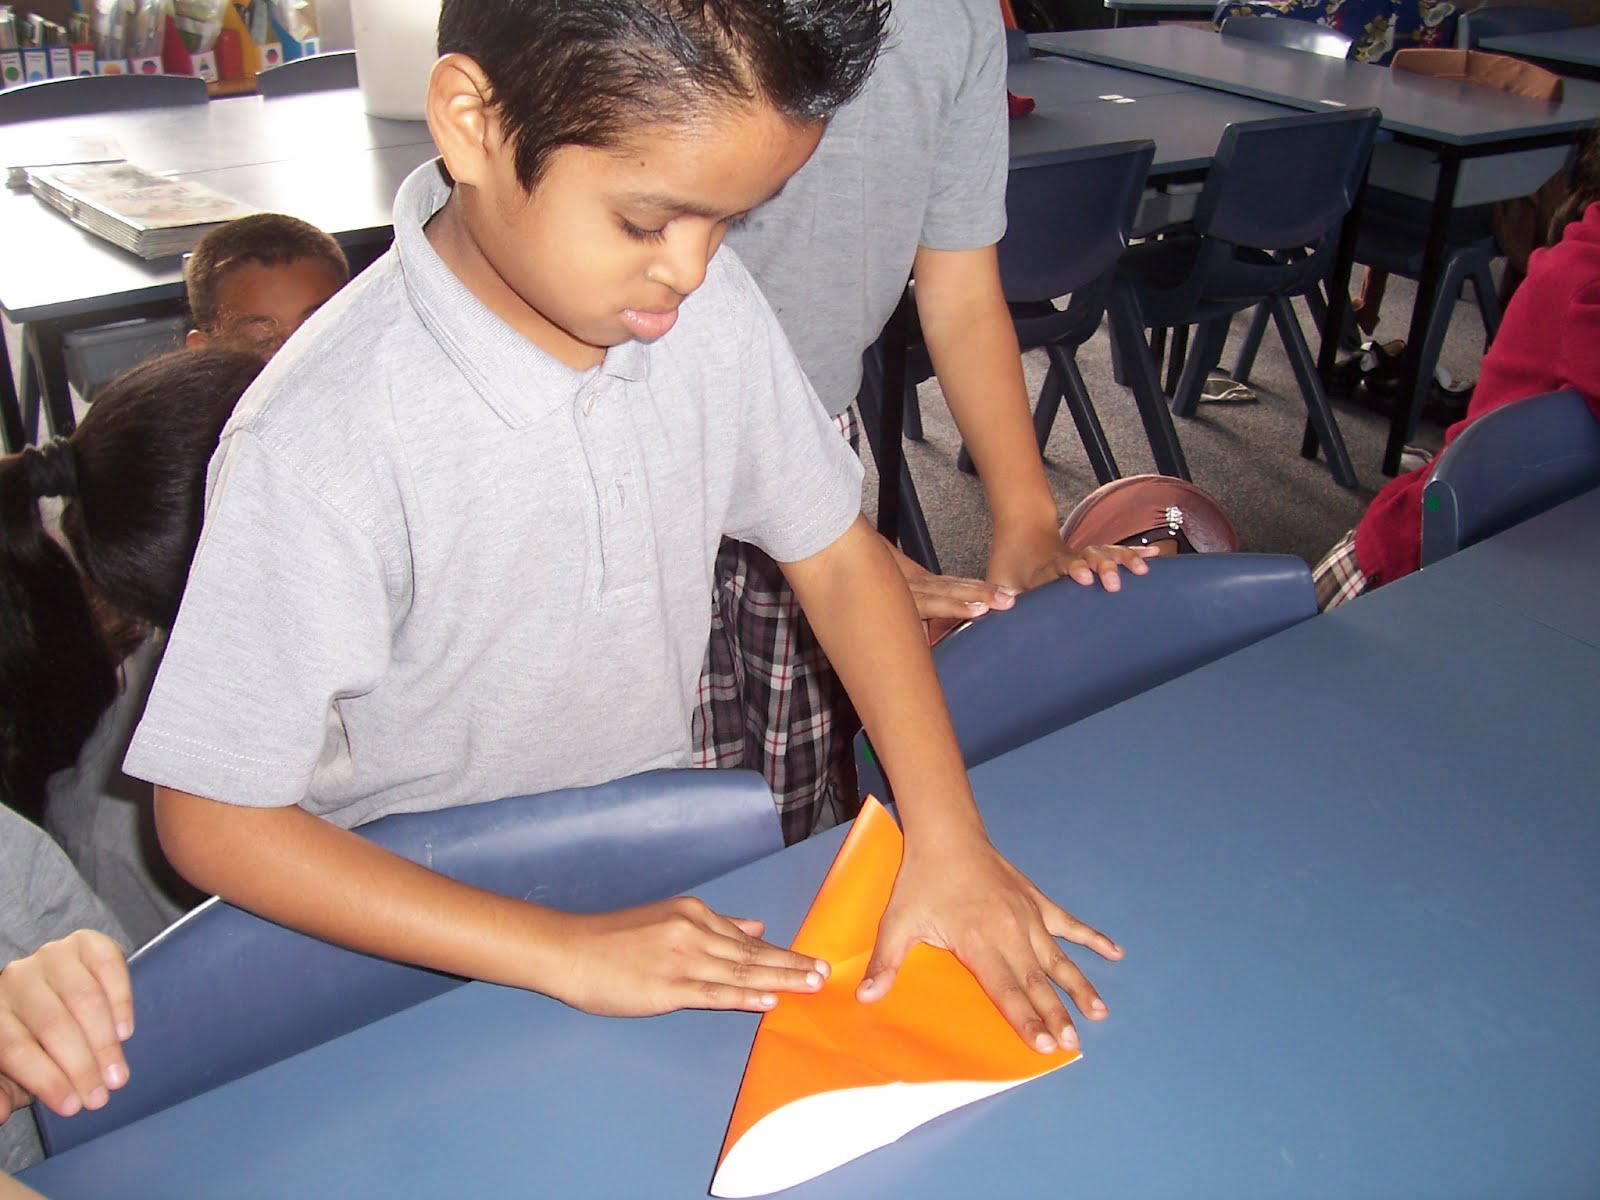 * * | 4. Fold the paper into a triangle. |
 * * | 5. Flip the paper over and fold it into a triangle. |
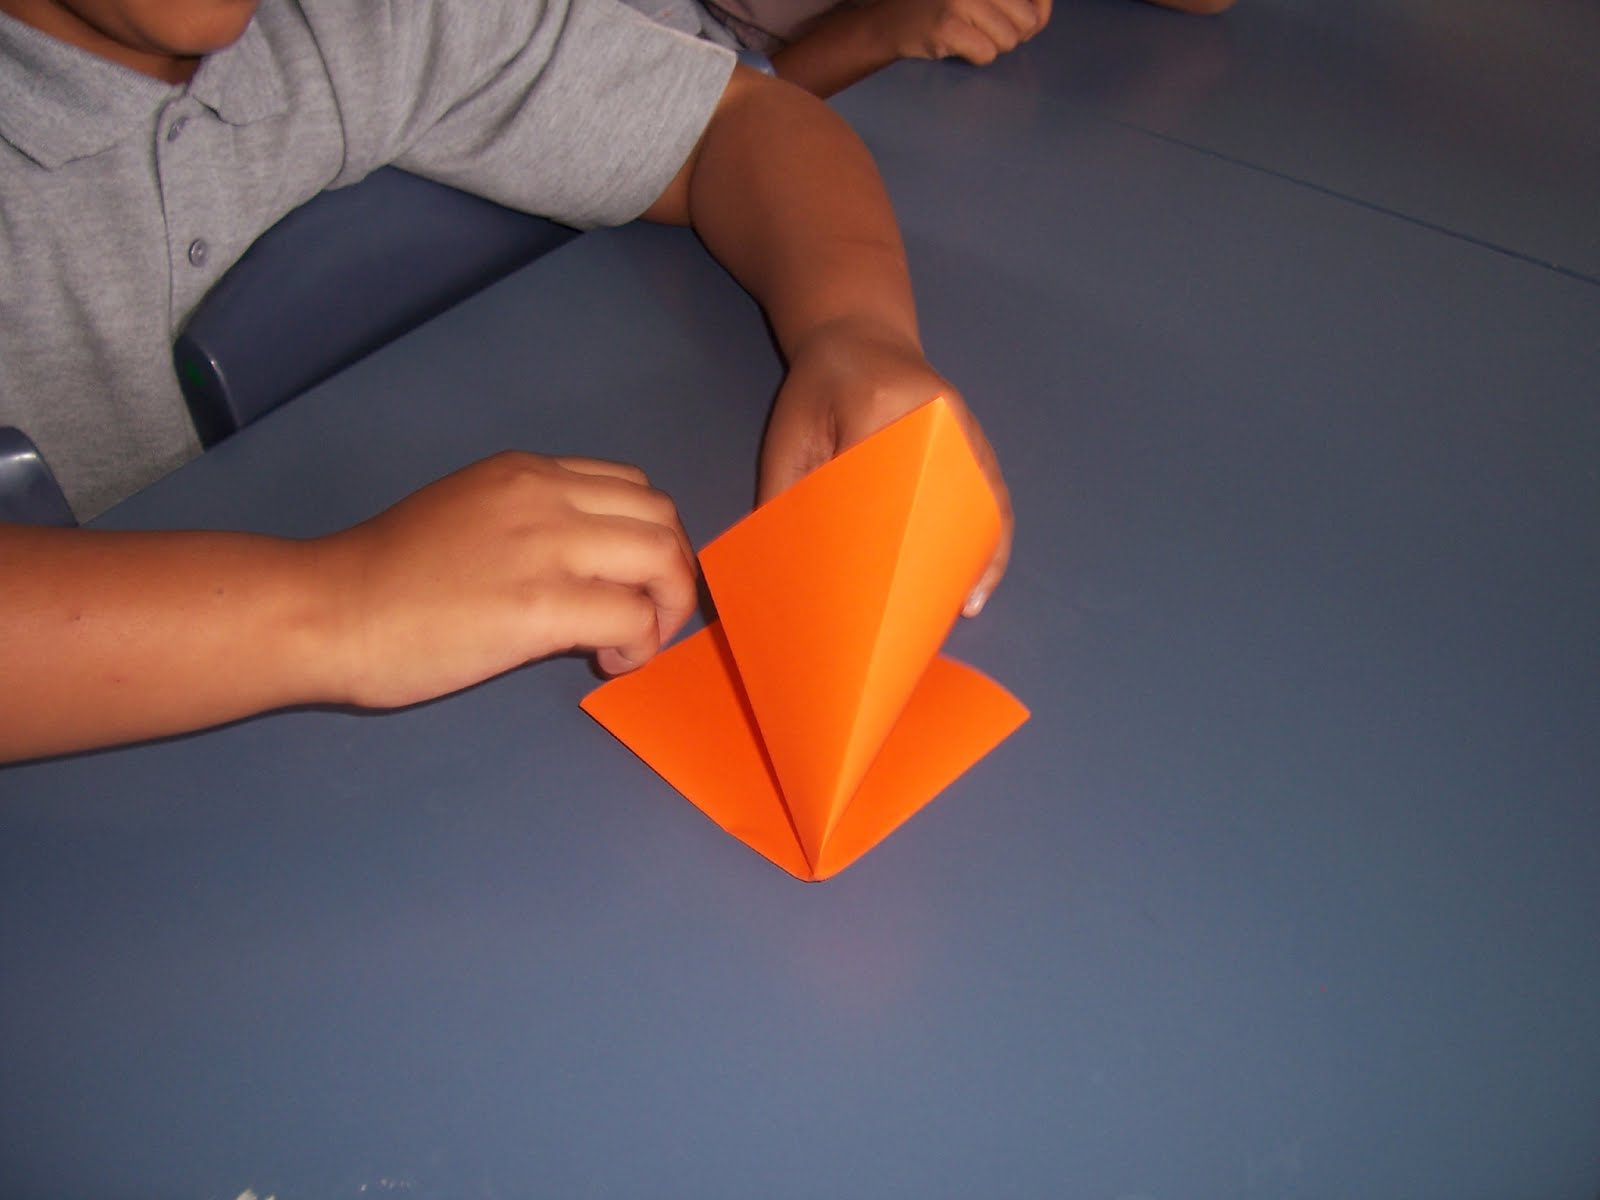 * * | 6. Take the sides of the triangle and push it down so it can be a square. |
 * * | 7. Push the paper down really hard(Make sure the flappy bit is facing you) |
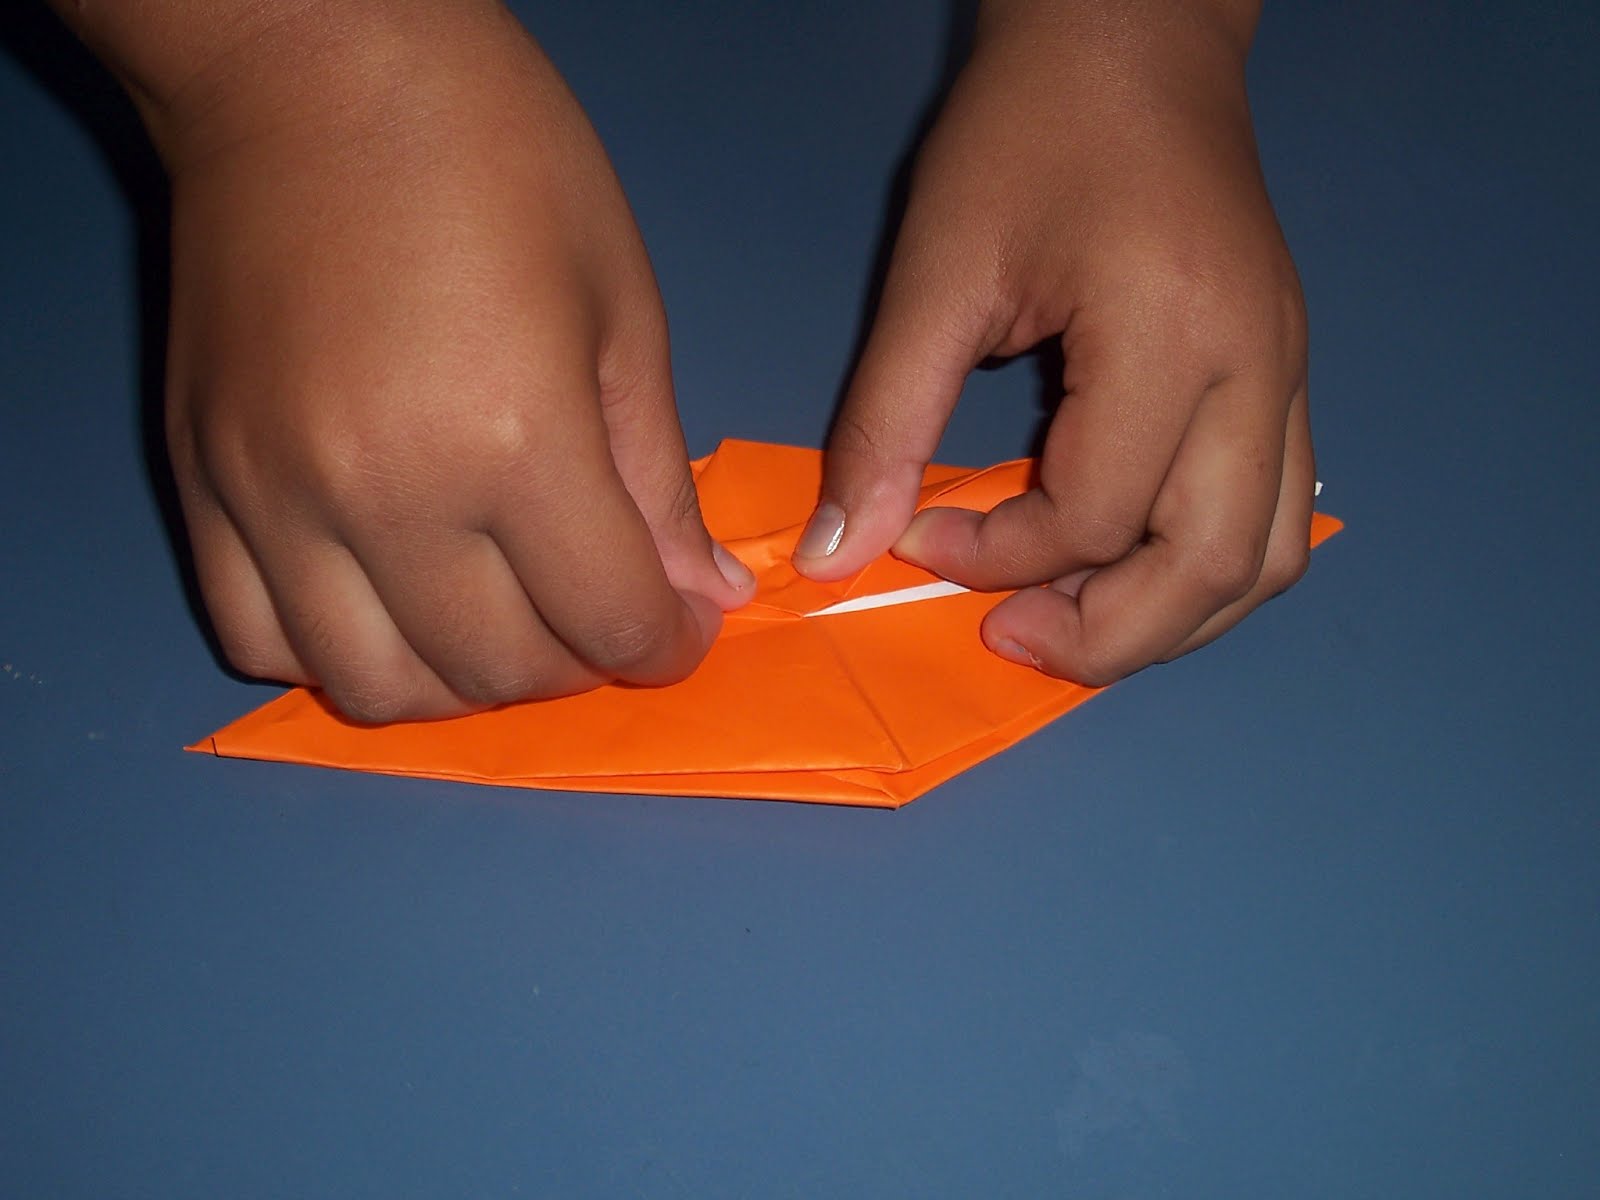
 * * | 8. Take both corners of the square and fold it to the center. |
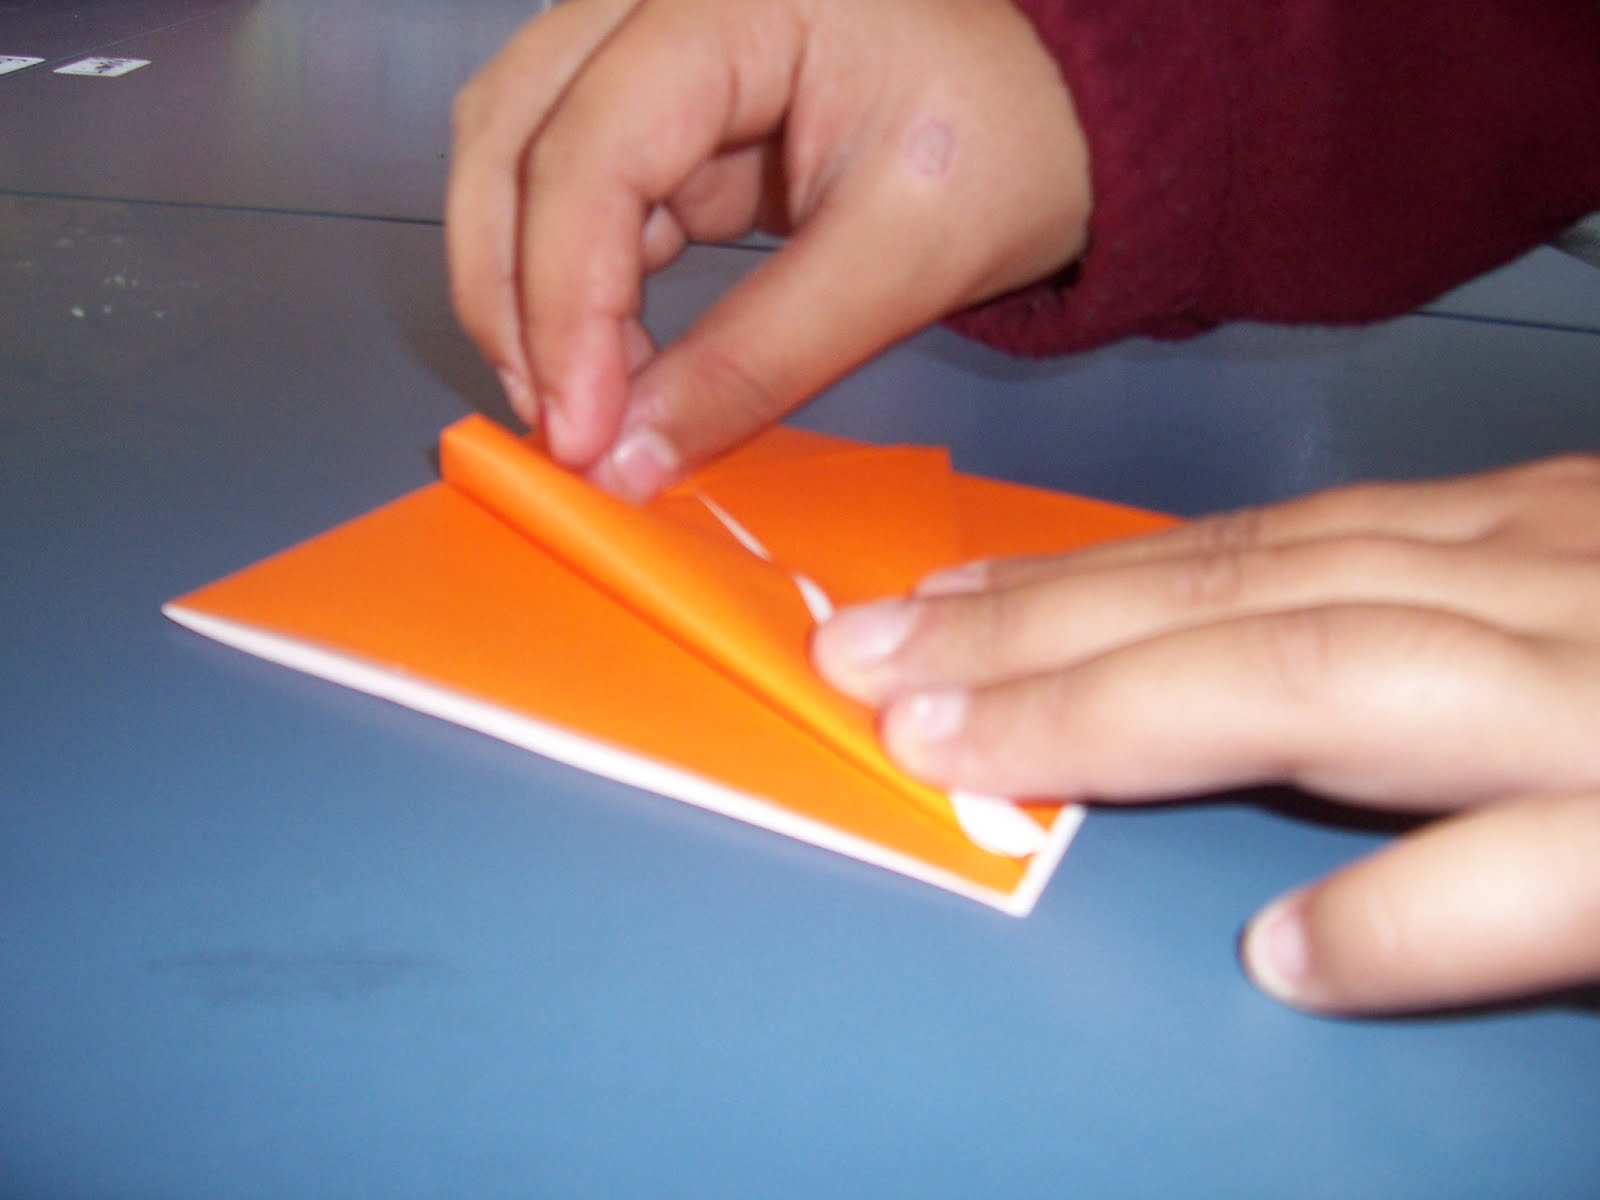 * * | 9. Flip the paper over and do the same thing take both corners and fold it to the center. |
 * * | 10. repeat step 9 on the other side. |
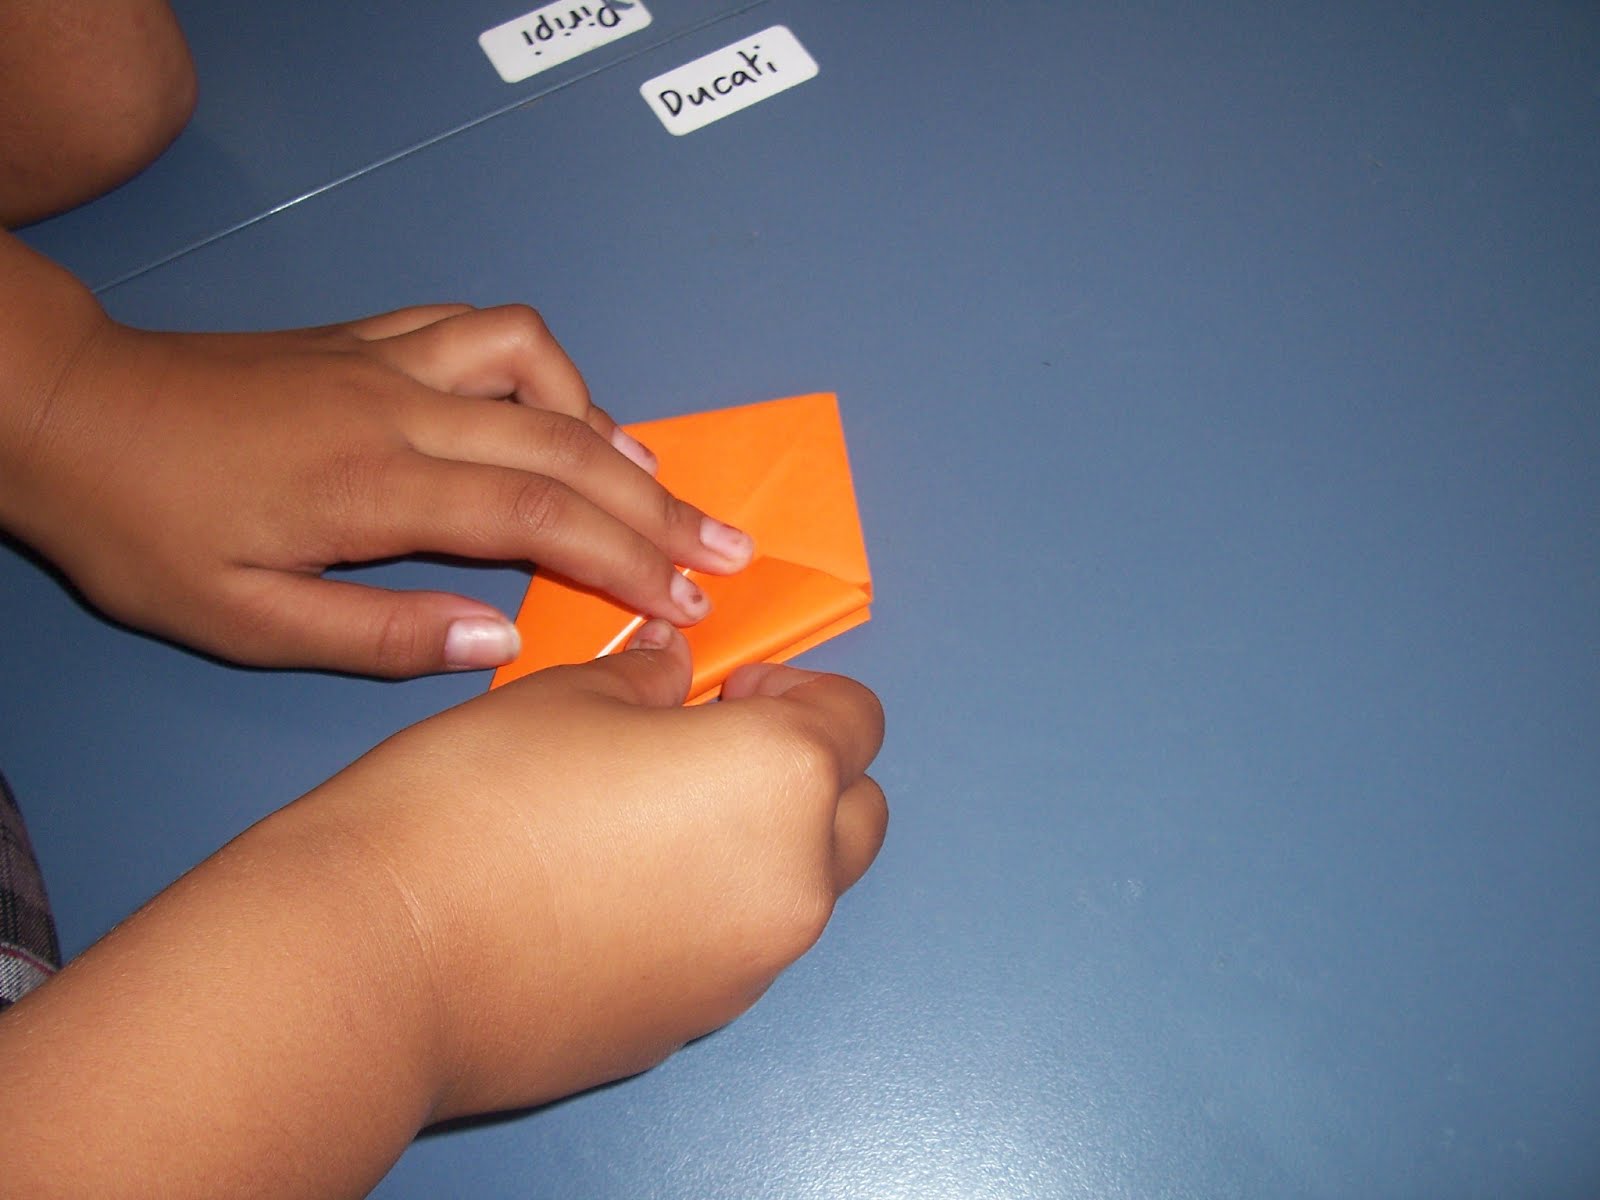 * * | 11. Fold it down. |
 * * | 12. Take the top bit and fold it to the center. |
 * * | 13. Open the paper up. |
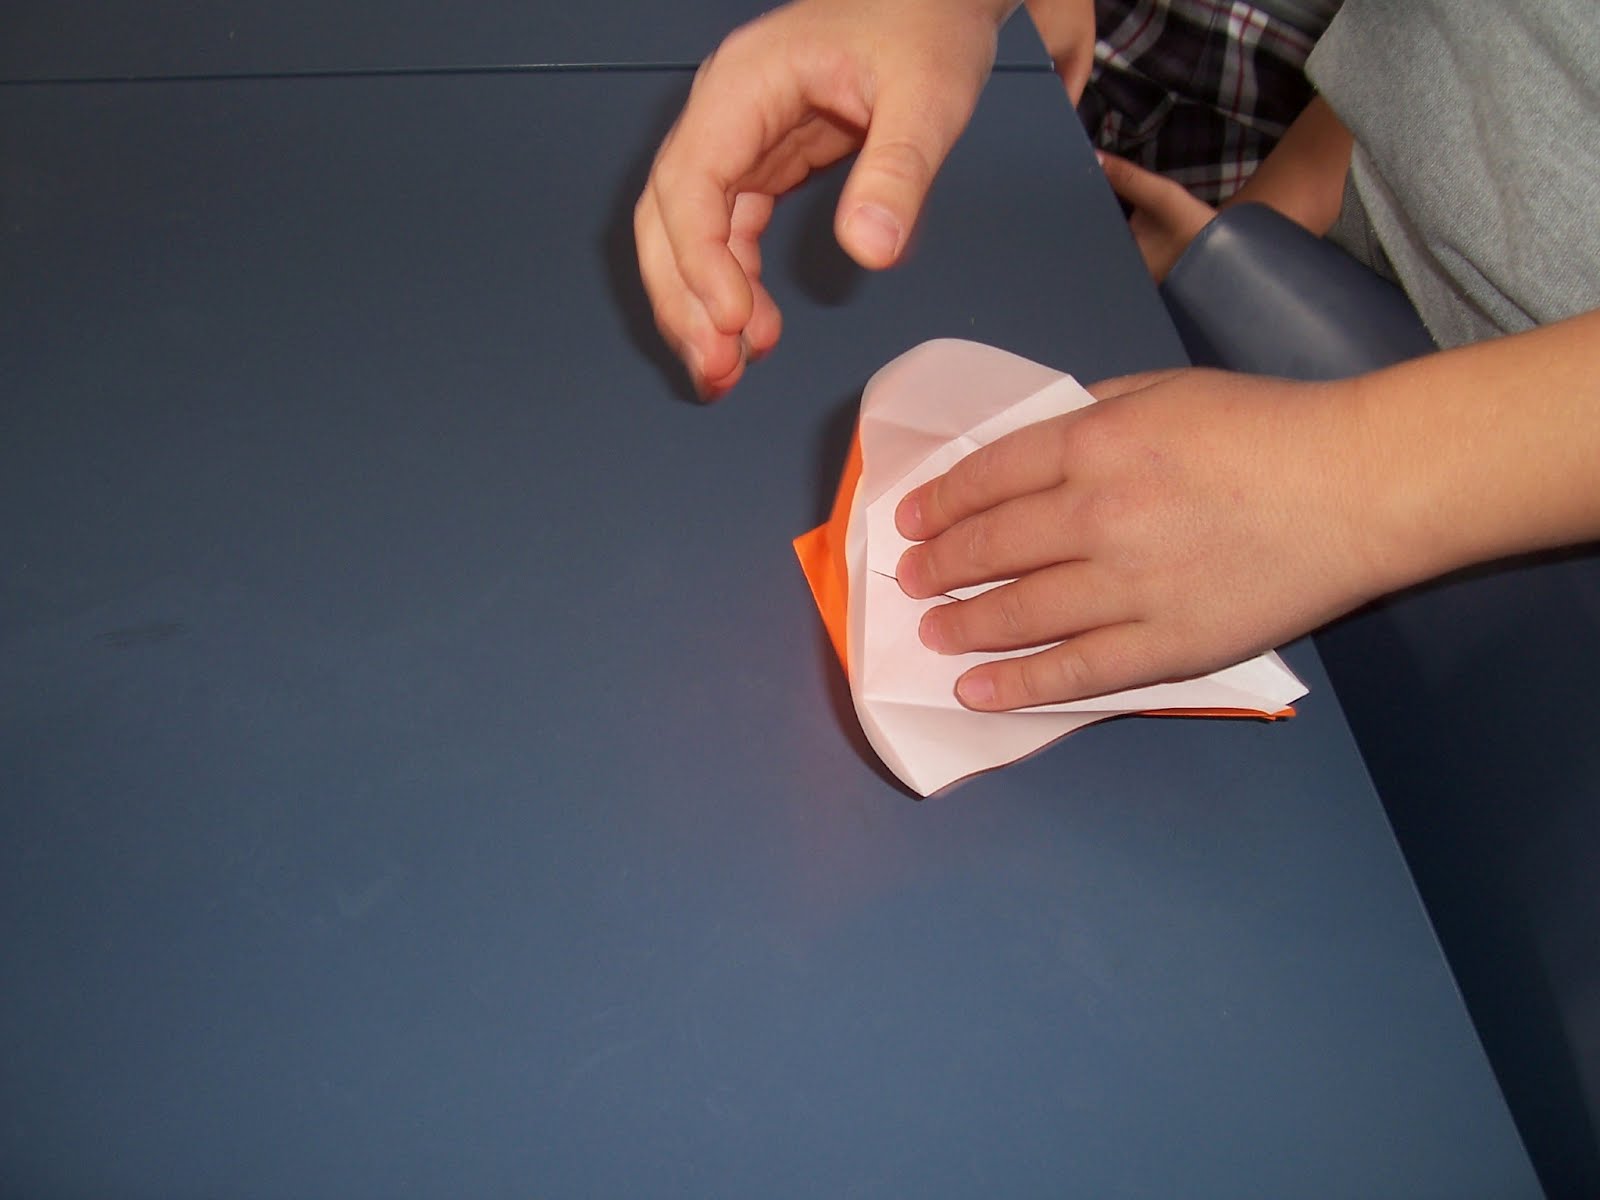 * * | 14. Open the flappy bit. |
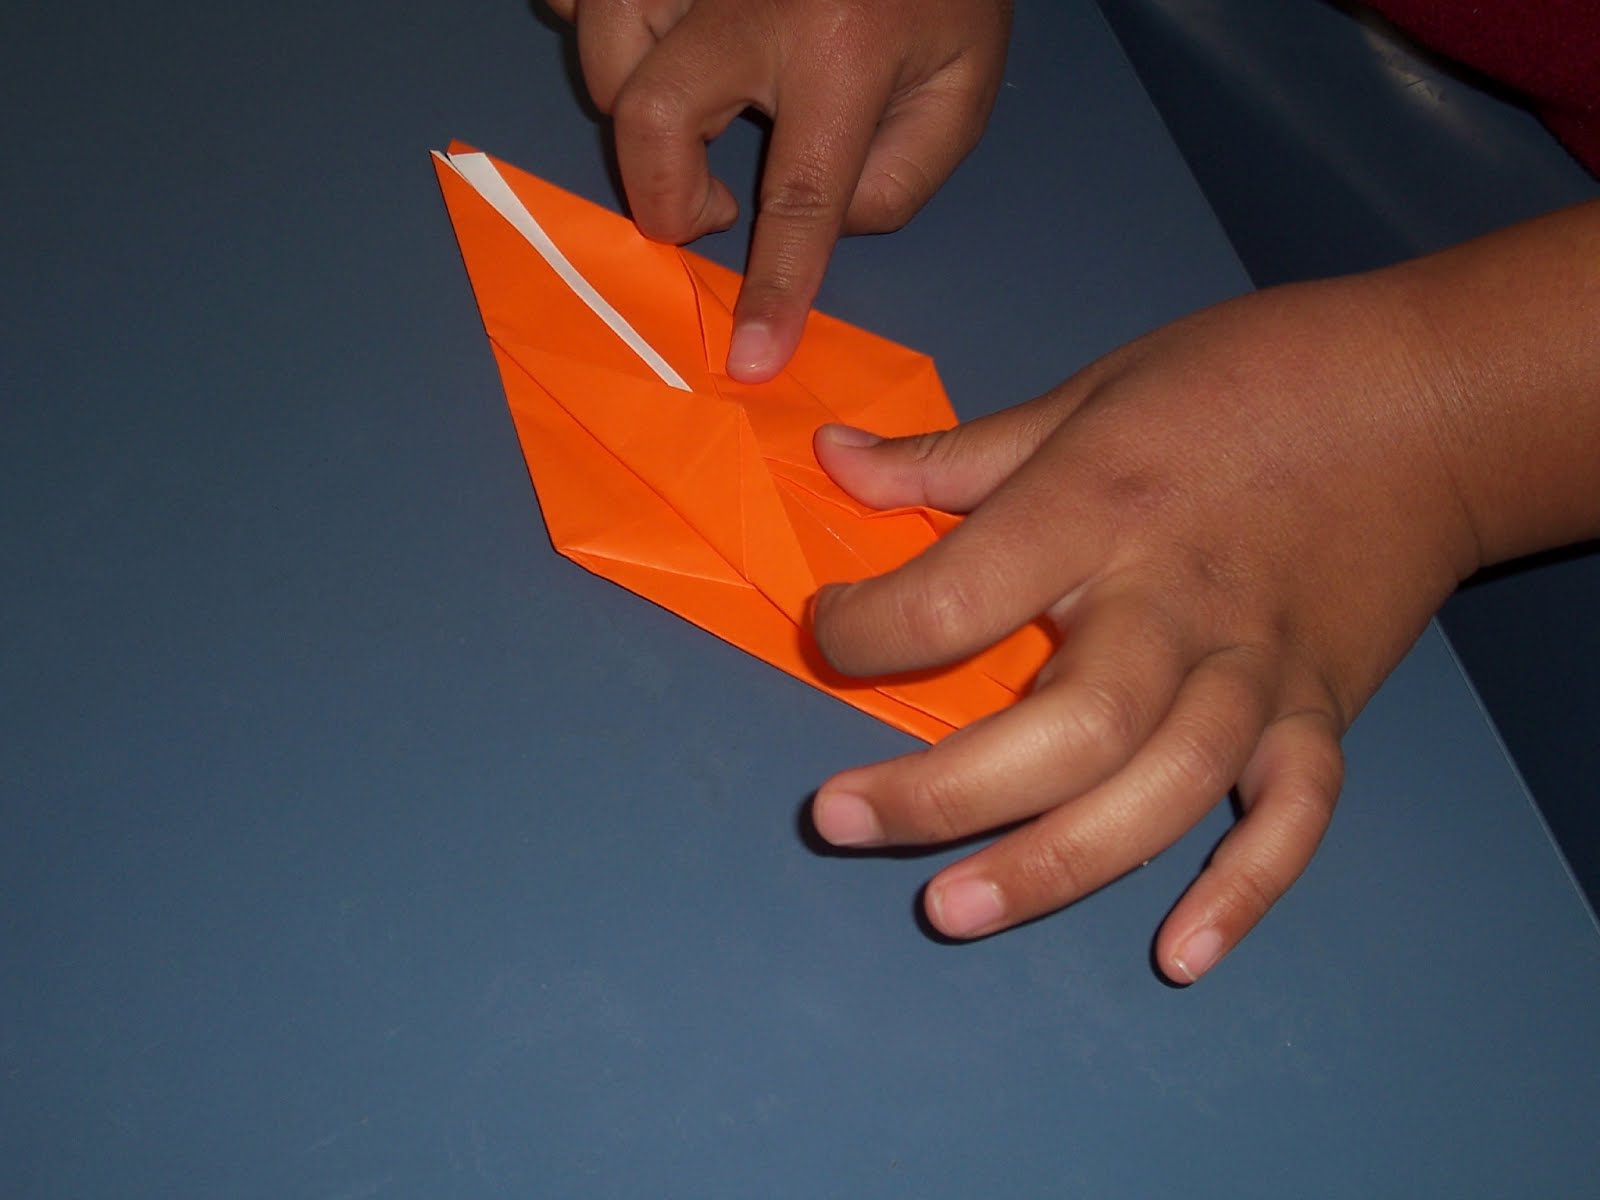
 * * | 15. Fold the sides down so it looks like a kite. |
 * * | 16. Repeat step 15 on the other. |
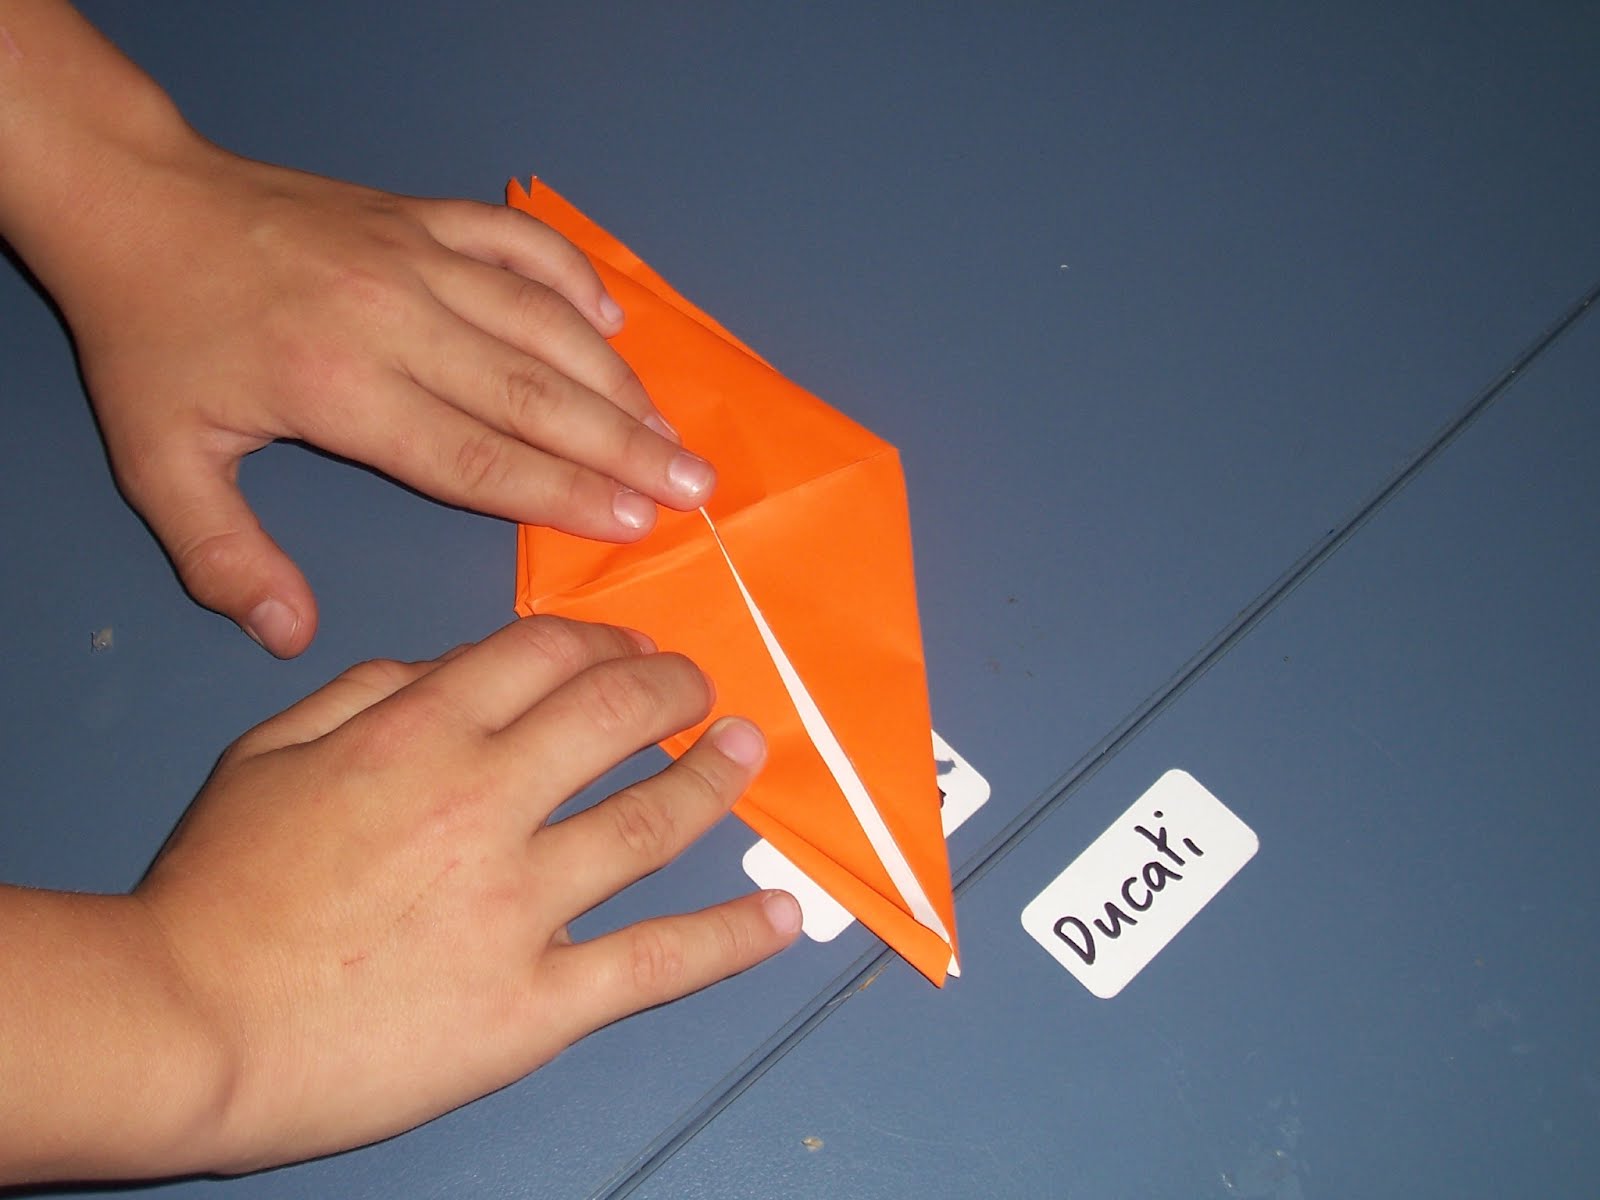 * * | 17. Flatten the paper so it can look like a kite shape. |
 * * | 19. Take the corner of the shaped kite and fold it to the center. |
 * * | 20. Repeat step 19 on the opposite side |
 * * | 21. Take one of the leg of the origami and fold it behind. |
 * * | 22. Do the same on the other side |
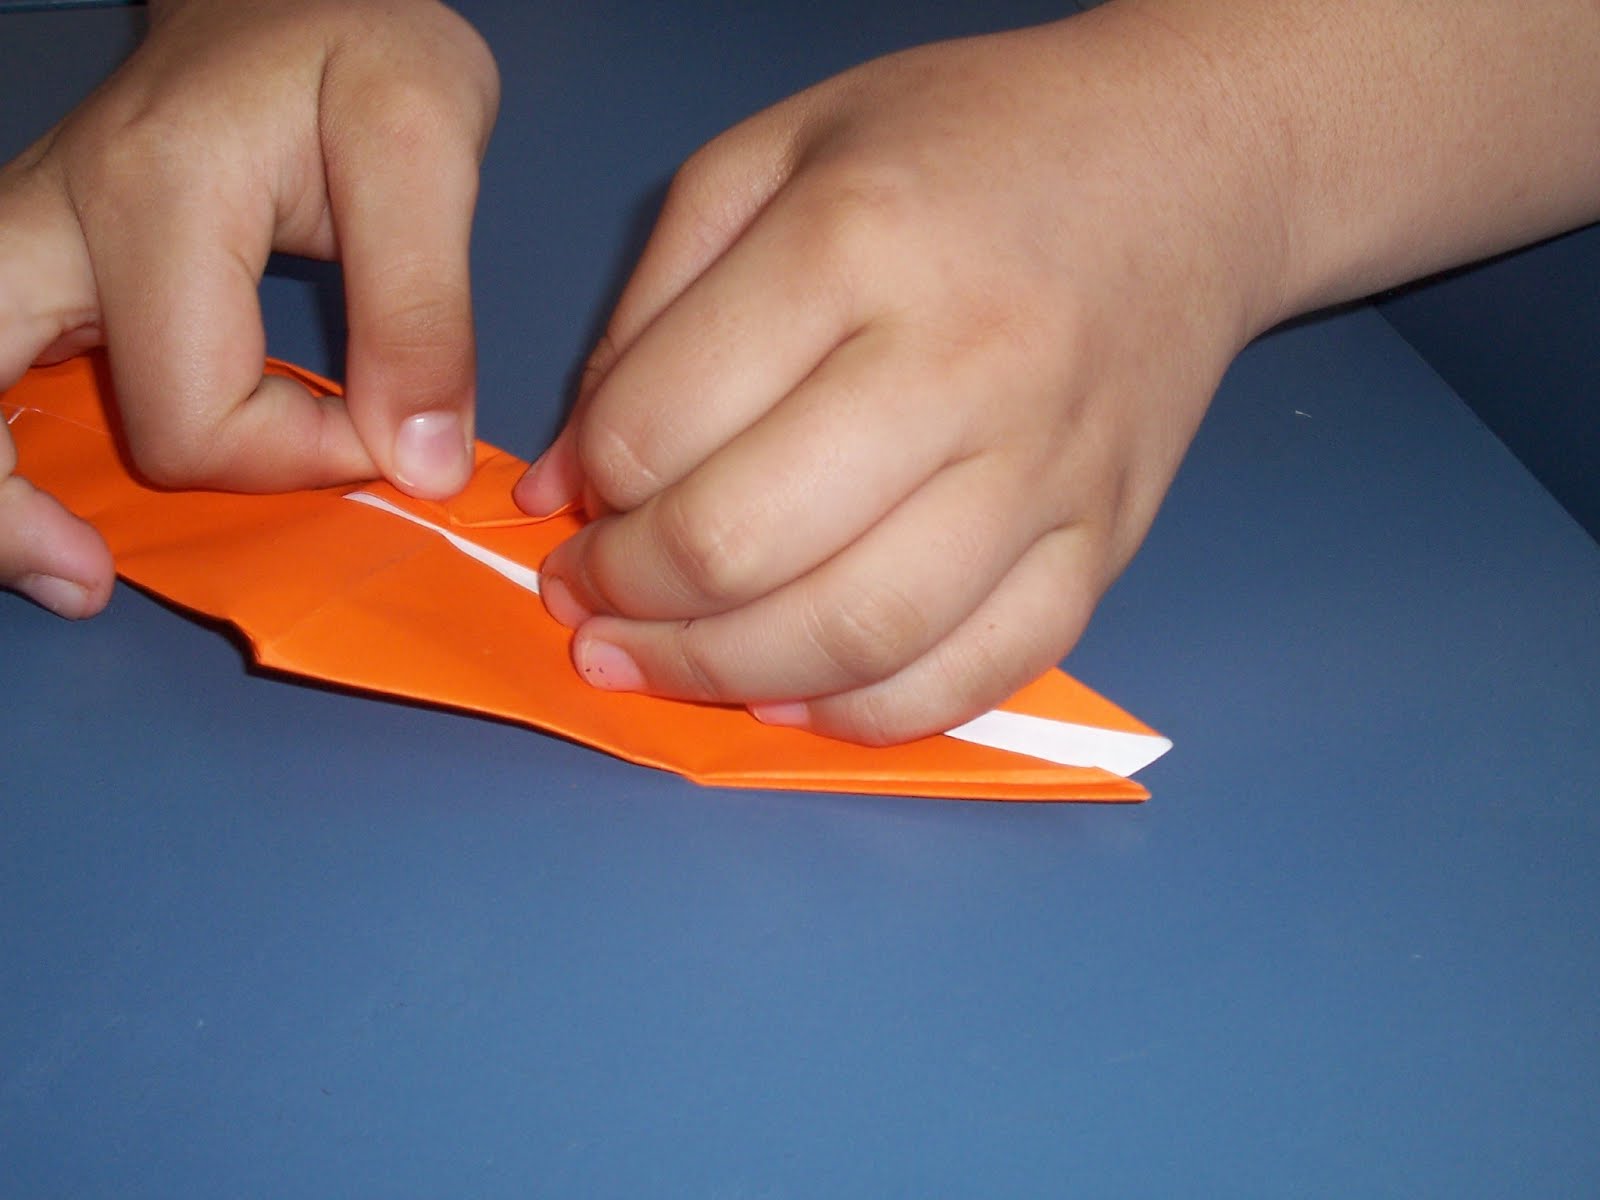
 * * | 23. Take the side and fold it then tuck it in. |
 * * | 24. Now it is folded it should be shaped similar to a knife. |
 * * | 25. Repeat step 23 |
 * * | 26. Fold the origami so that the four spiky tips are all touching. |
 * * | 27. Pull the front and back spiky tips of the origami outwards. This is the head and the tail of the origami crane. |
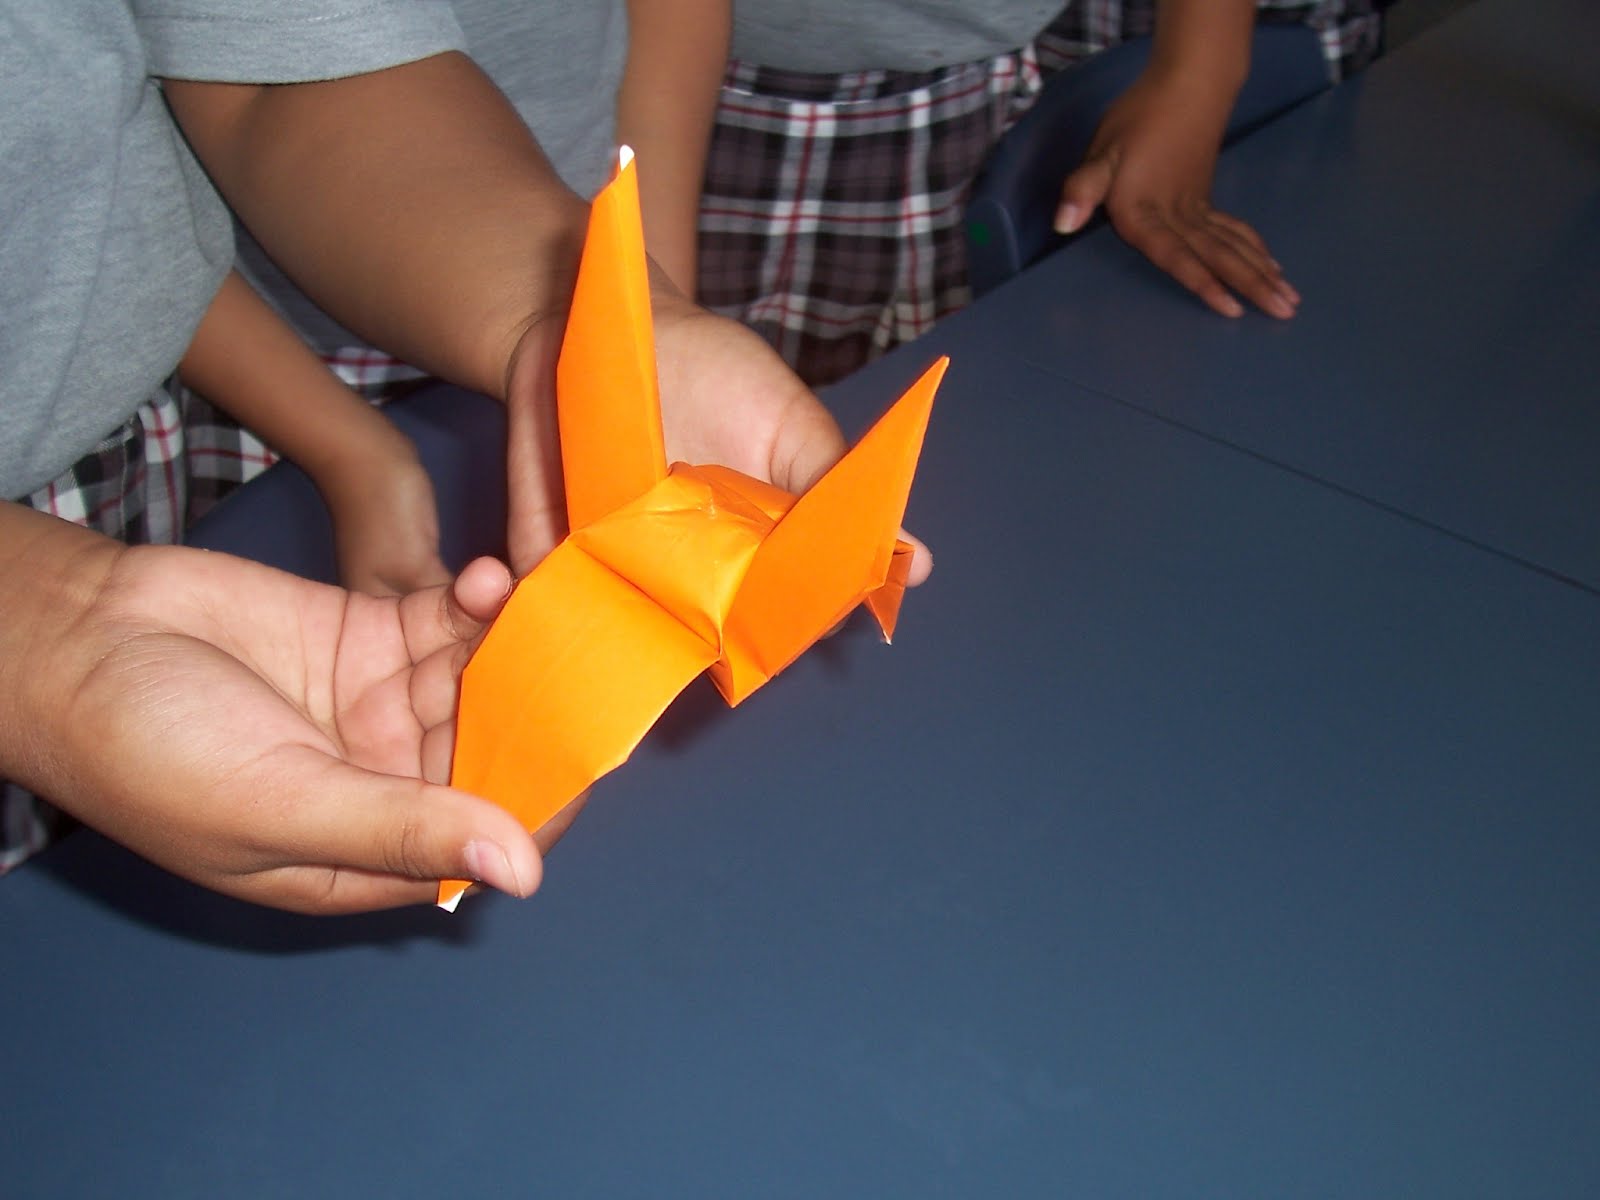 * * | 28. Pulls the last two spiky tips outwards. These are the wings. |
 * * | 29. To finish fold the head of the origami so that it can look like a head. |
 * * | 30. There is your origami! Enjoy making it and show your friends :) |
Tuesday 22 May 2012
My Origami Crane instructions
Monday 14 May 2012
The paper plane challenge by Tim
Hi this is my paper plane challange .Piripi got the furthest paper plane with a total of 11.16. Santat had the lowest with a total of 2 meters. I got a total of 3.33 meters.
Tuesday 8 May 2012

Reflecting on my origami crane:By Tim

Friday 4 May 2012
Origami: By Tim
On Thursday 3rd May room 5 made origami’s. It was a cran. All of room 5 made a cran.The first part was very easy we had to fold the paper in half,then we had to fold the paper in quarters.After we folded the paper it was getting hard.The easy part for me was doing the first step and the tricking bit was doing the cran.I am very proud of my cran and i am so happy that I did the origami by myself.
On Thursday 3rd May room 5 made origami’s. It was a cran. All of room 5 made a cran.The first part was very easy we had to fold the paper in half,then we had to fold the paper in quarters.After we folded the paper it was getting hard.The easy part for me was doing the first step and the tricking bit was doing the cran.I am very proud of my cran and i am so happy that I did the origami by myself.
Thursday 3 May 2012
The Mintie Challenge 2012
San Tat had the longest Mintie Wrapper because he was focused on what he was ripping and San Tat's total was 97cm.
Raymond had the shortest Mintie Wrapper because it was his first time doing the Mintie Challenge and Raymond's total
was 5cm. My Mintie Wrapper was 45cm.
Wednesday 2 May 2012
How to make delicious chocolates

Title:
How to make a delicious chocolates
ingredients list
1 packet of chocolates melts
Equipment
1 Kettle
1 saucepan
* water
plate
spoons and bread and butter knives
molds
fridge
Tin foil
Method: - action verbs/bossy words
1. Fill the kettle up with water and let it boil.
2. Pour the boiled water into the saucepan.
3. Cover the saucepan with a plate and put the chocolates on the plate.
4. Spoon the chocolates and let them melt.
5. Spoon the melted chocolate into the molds and tap them down.
6. Put the molds in the fridge and leave them for 4 or 5 hours.
7. Get the molds out of the fridge and tap them down hard so the chocolates pop out.
8. Wrap the chocolates with tin foil.
9. Eat the chocolates and enjoy
Tuesday 1 May 2012

Subscribe to:
Posts (Atom)